How to Export DreamHost Email to Outlook PST?
Jackson Strong | April 26th, 2024 | Email Migration, Outlook
Learn the step by step guide to export DreamHost emails to PST file. In addition, you can configure you account to add DreamHost to Outlook client.
Now the question arises why export Dreamhost emails to Outlook? There can be various reasons such as Outlook is widely compatible with all email services thus making it a primary choice by individuals and businesses. It offers advanced features for email management, calendars, tasks, and many more.
In this article, we will discuss the two easiest ways to import DreamHsot to Outlook. One is a manual solution and the other one is an automated solution. Both methods are explained in detail in the upcoming section.
How to Add DreamHost Email to Outlook Manually?
Follow the below-given steps to export DreamHost email to Outlook.
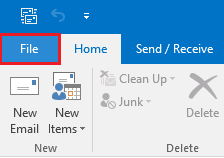
1. Open Outlook and click on File tab.
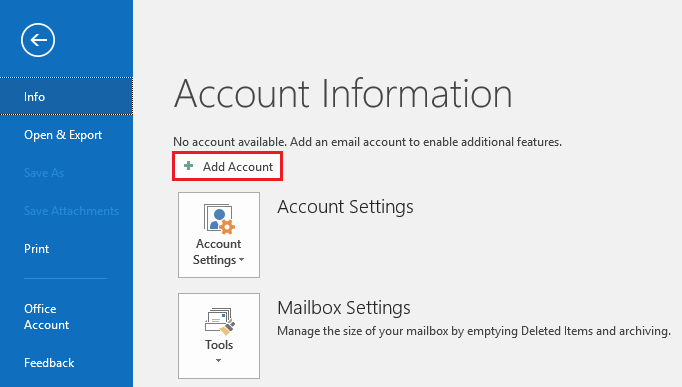
2. Click on Add Account.
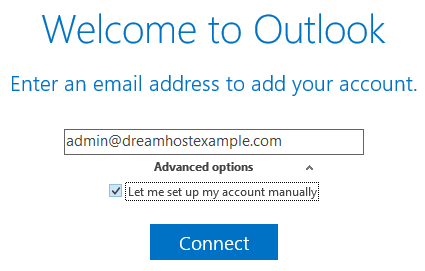
3. Enter DreamHost email address and click on Connect.
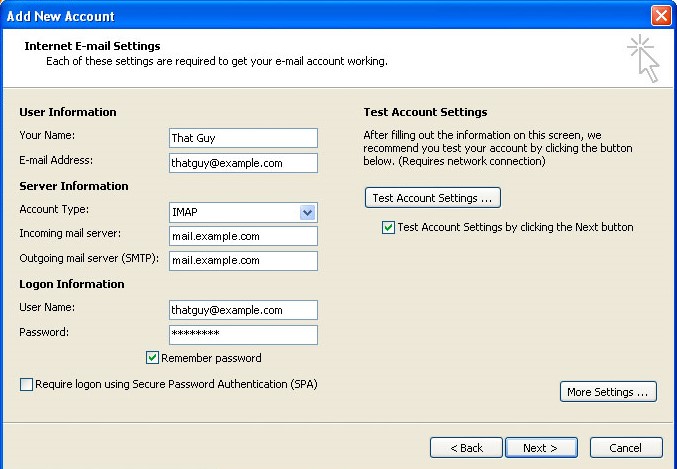
4. Select IMAP as account type and fill Incoming and Outgoing Mail server information.

5. Enter Username and Password under Logon Information and click on More Settings.
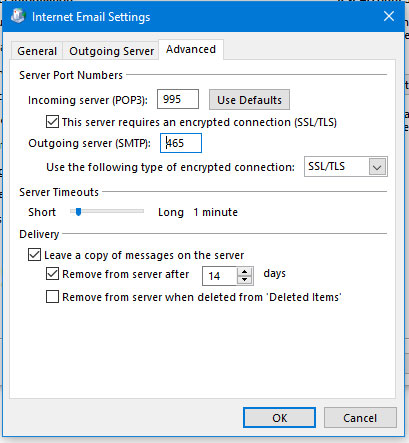
6. Click on Advanced tab to enter Port Number and then press Ok.
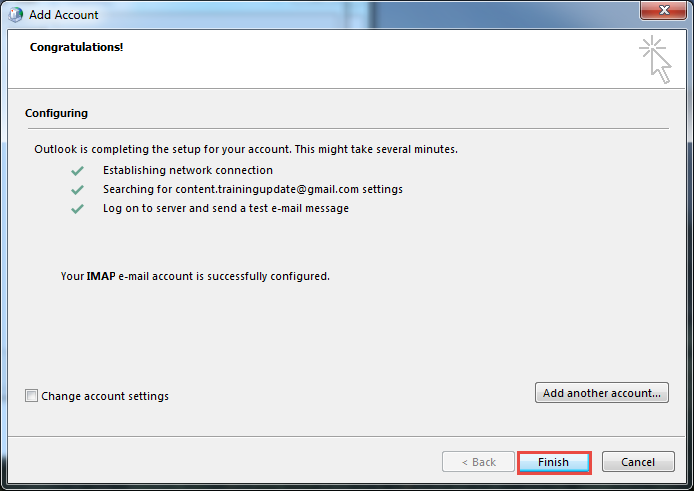
7. Outlook will test all filled information. Once the testing is successfully completed then press Finish.
Now, your DreamHost account is added to Outlook and emails are visible in it. Hence, you can connect DreamHost email to Outlook but it takes a lot of time to complete the process. Users must have technical knowledge to configure both email accounts.
How to Export DreamHost Emails to PST?
Try Advik Email Migration Tool on your system. The software is designed in such a way any novice user can easily use it without any technical knowledge. With this utility, you can export DreamHost emails to PST file format. After that, you can import this PST file in Outlook using import/export feature. It preserves data integrity and folder hierarchy during the process. Apart from this, the tool has various advanced filter options that enable you to export selected emails according to your needs.
Click on the below button to download it for Free. It is available for both Mac and Windows OS.


Steps to Export DreamHost Email to PST
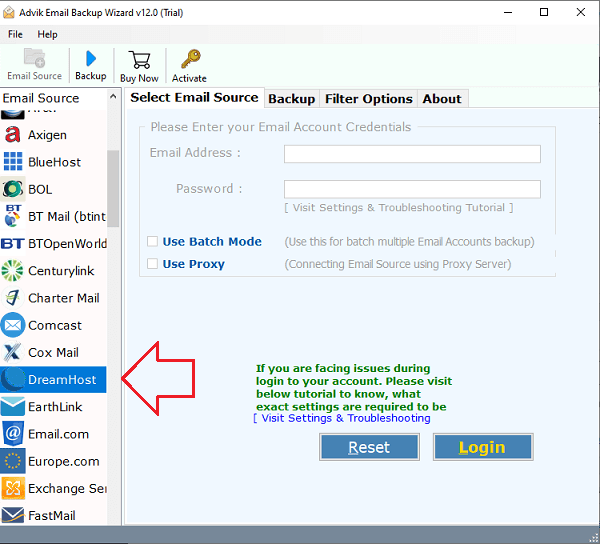
Step 1. Run this tool on your system.
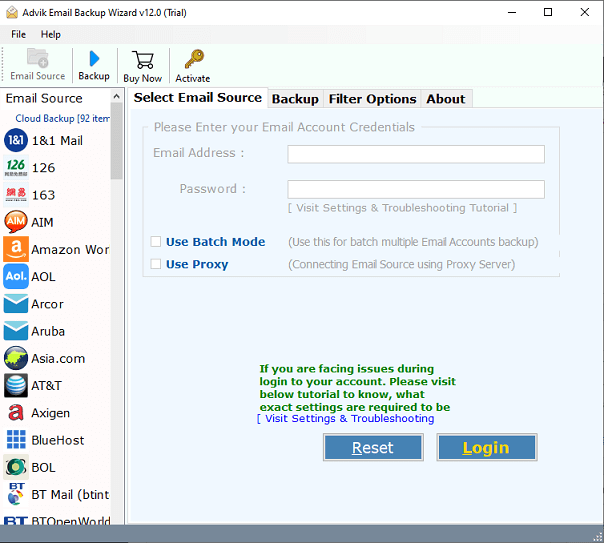
Step 2. Choose DreamHost from email source list.
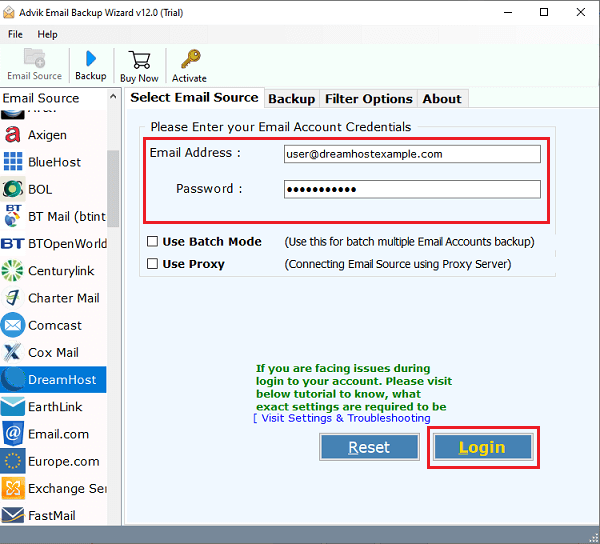
Step 3. Enter DreamHost account login details to sign in.
Step 4. Choose the required mailbox folders.
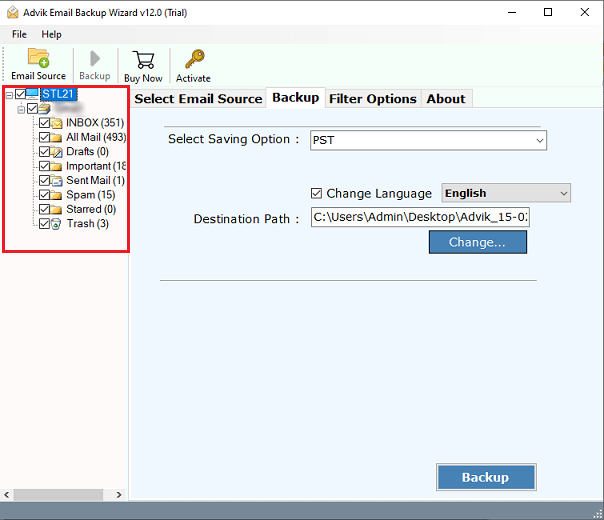
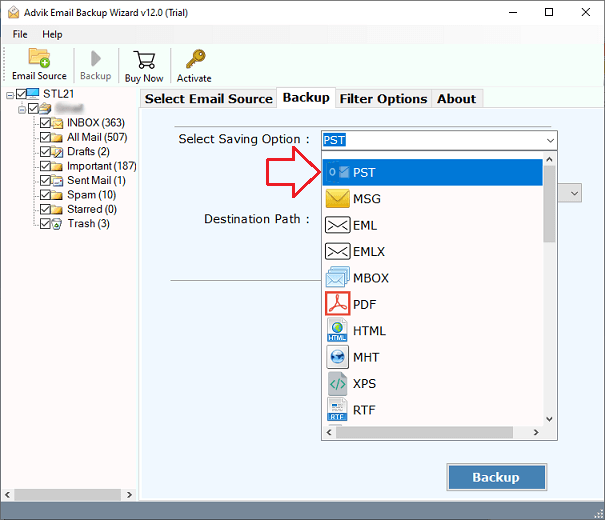
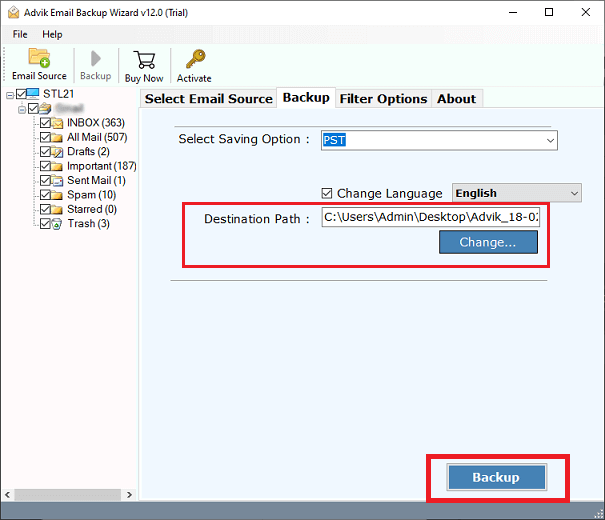
Step 5. Select PST as a saving option.
Step 6. Browse target location and click on Backup.
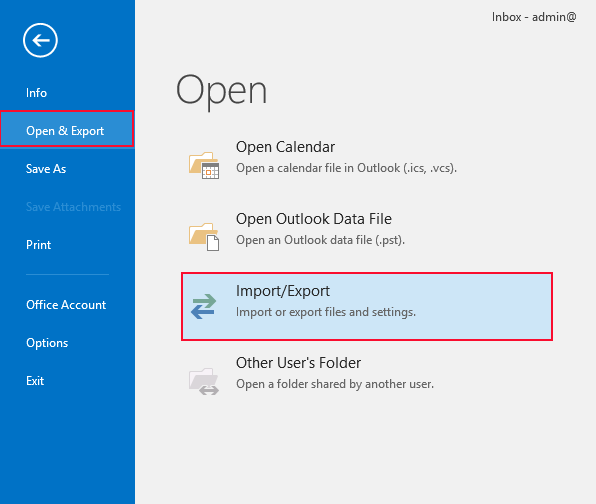
Step 7. Now, open Outlook and import this exported PST file via Import/Export option.
Done! That’s how you can easily add DreamHost email to Outlook in just a few simple clicks.
Why Choose Automated Tool?
- Import DreamHost email to Outlook in batch.
- Maintain folder and subfolder hierarchy.
- Advanced filter options for selective migration.
- Transfer DreamHost email to Office 365, and many more.
- Simple and easy-to-use graphical interface.
Final Words
Till now we have discussed by which you can add DreamHost email to Outlook. Here, we have discussed both manual as well as automated solutions for DreamHost to Outlook migration. Both solutions are 100% workable and give accurate results. You can choose any method as per your need.