How to Add Titan Mail to Outlook Client?
Jackson Strong | February 22nd, 2025 | Data Backup
Summary: Many users want to export Titan Mail to Outlook to avail the benefits of the advanced features of Outlook while retaining their emails. If you also want to add Titan Mail to Outlook client then this is for you. In this post, we are going to discuss both manual and automated solutions to complete this task easily. Read this article from start to end and then decide which method is most suitable for you.
Titan Mail is an email service designed to offer professional, reliable, and secure email solutions for individuals and professionals. It provides advanced features like custom domain email addresses, enhanced security with encryption, spam filters, and a user-friendly interface.
On the other hand, Microsoft Outlook is the most widely used email client all over the world. Apart from sending and receiving emails it has several other benefits that help users to communicate effectively. It’s also used to keep track of personal information including calendar appointments, tasks, contacts, and notes. Additionally, if you have multiple email accounts, Outlook lets you manage them all in one place and you do not need to switch between platforms to check your messages.
Now, let’s move ahead to the methods and complete this task in a simple manner.
How to Add Titan Mail to Outlook for Free?
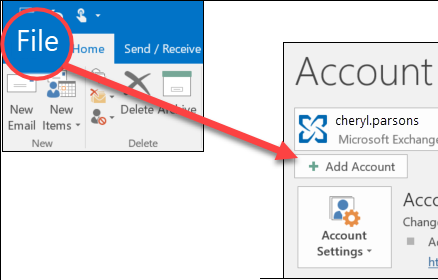
1. Open Outlook and go to File >> Add Account.
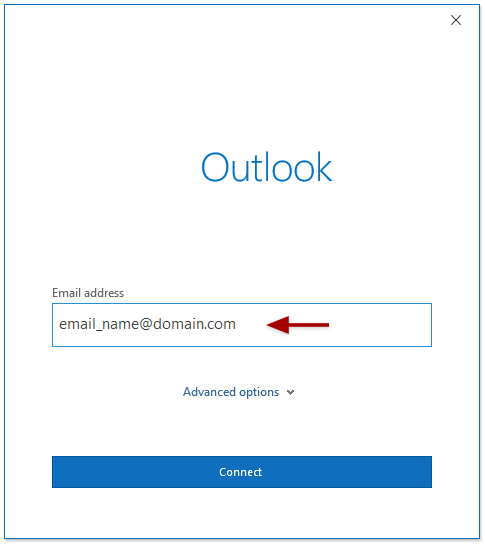
2. Enter Titan Mail account email address and click Connect.
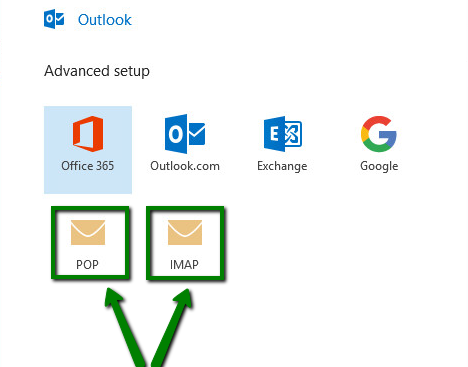
3. Choose IMAP as the Account type.
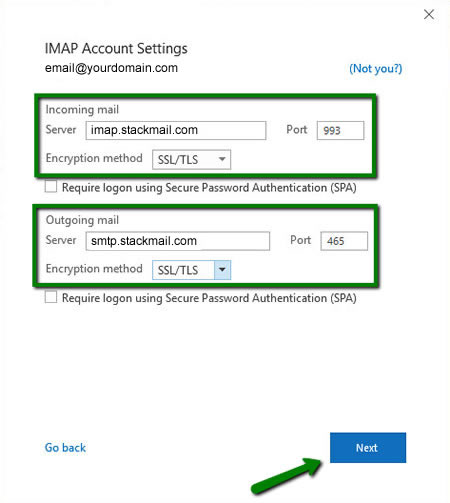
4. Enter Incoming Mail Server-mail.yourdomain.com, Port-993, Encryption Method- SSL, and outgoing Mail Server – mail.yourdomain.com, Port – 587, Encryption Method – SSL in the respective field and click Next.
5. Type password of Titan Mail account and click Connect.
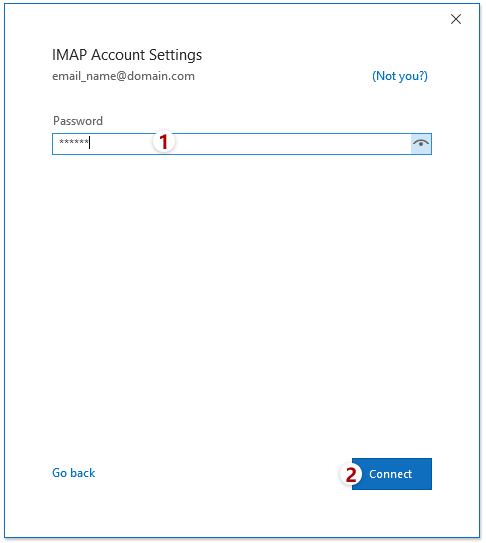
6. Now, Outlook will verify the details you have entered. After verification, you will get your Account successfully added then click the Done button.
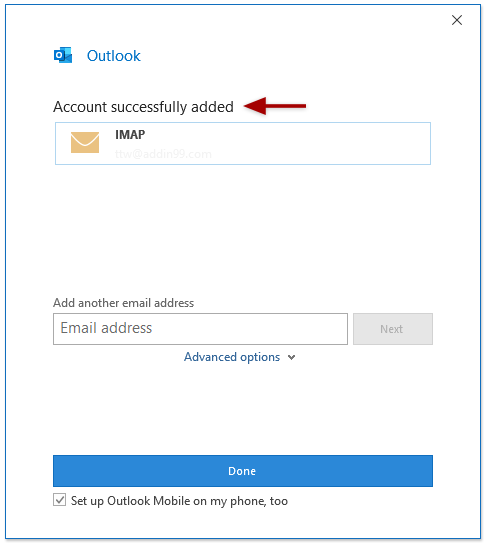
That’s how you can easily add your Titan Mail account. However, this is complicated and takes time to sync all emails depending on the size of the mailbox.
How to Export Titan Mail to Outlook Automatically?
Download and install the Advik Email Backup Wizard on your system. The software can add Titan Mail to Outlook in a few simple clicks. With this utility, you can export emails from Titan Mail to PST file which can be later imported into Outlook client. It can transfer all emails in a single attempt. It provides various advanced filter options that enable you to add emails based on Date Range, Sender, Subject, etc. according to your needs.
Tap on the below link to download it for FREE.
Steps to Add Titan Mail to Outlook
1. Run this software on your Windows/Mac PC.
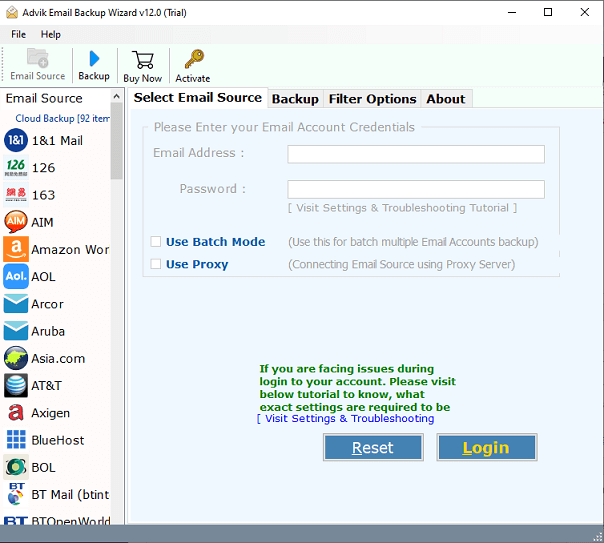
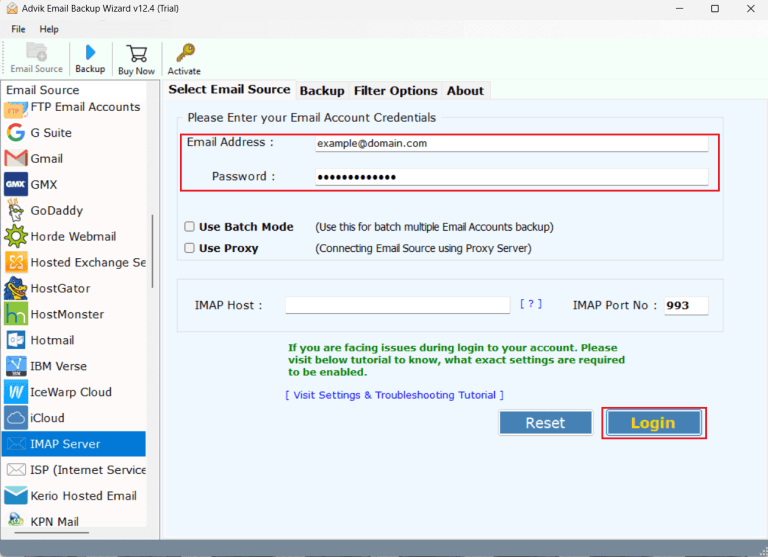
2. Choose IMAP Server from the Email source list.
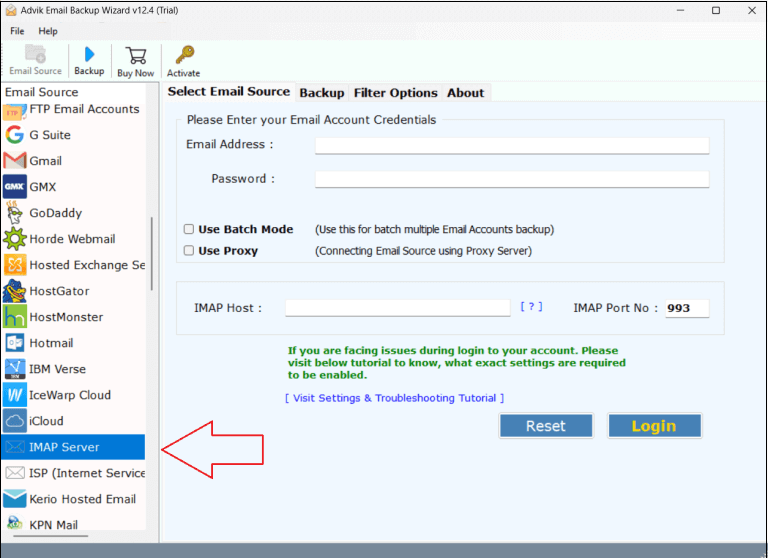
3. Enter Titan Mail account login details to sign in.
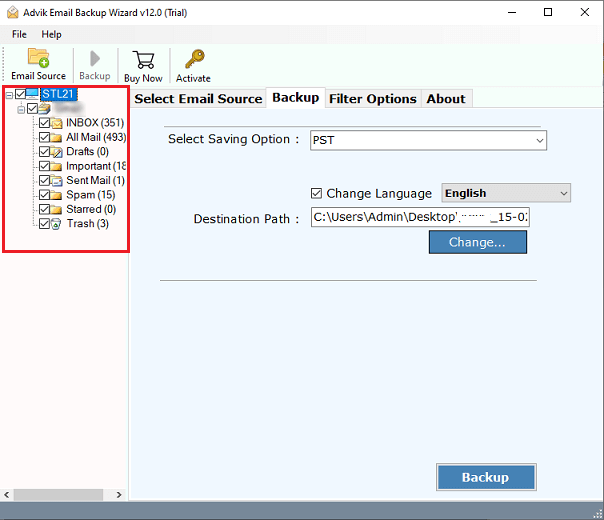
4. Select the required mailbox folders.
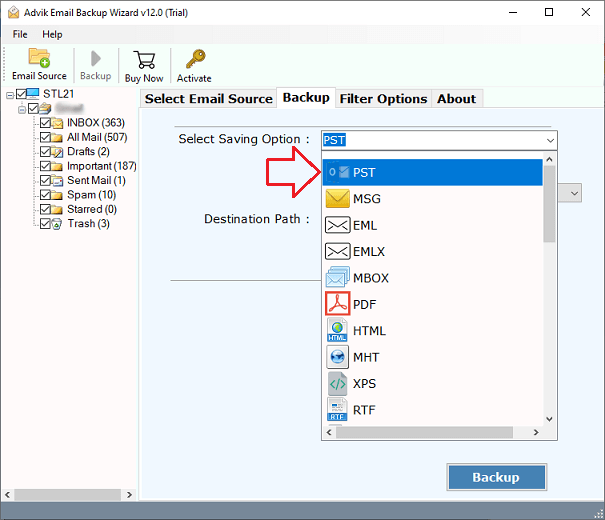
5. Choose PST as a saving option from the given list.
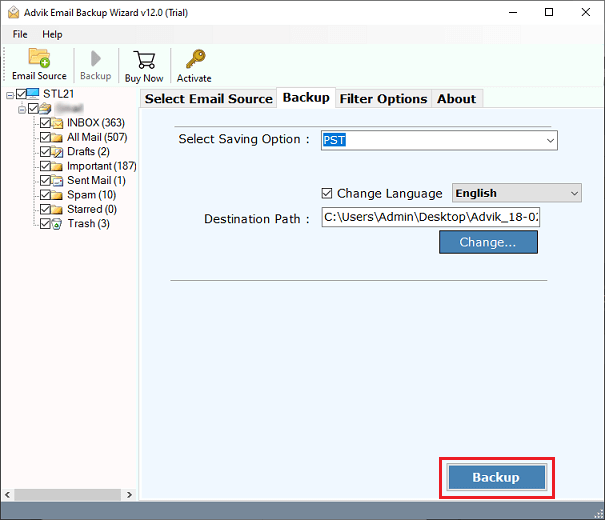
6. Click on Browse to select destination path and press Backup button.
7. Now, open Outlook and import the exported PST file via Import/Export feature.
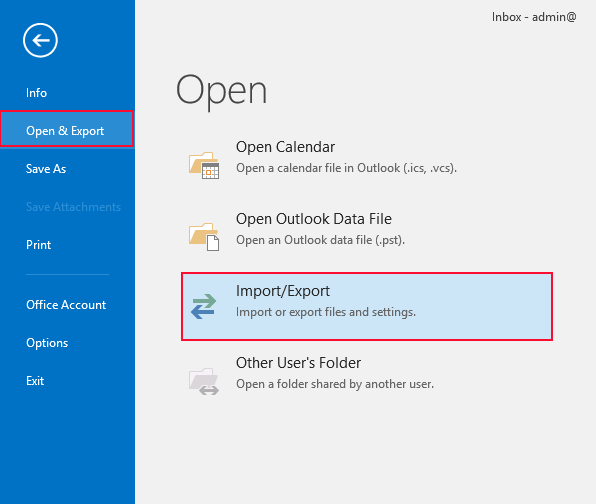
Done! That’s how you can migrate Titan Mail to Outlook in a few simple clicks.
Additionally, the tool offers various advanced features which help you to easily complete this process.
- Preserves folder hierarchy and structure during the process.
- Maintain email properties and attributes while transferring emails.
- Various saving options to backup Titan Mail emails in 30+ file formats.
- Batch mode to add emails of multiple Titan Mail accounts to Outlook at once.
- Advanced email filters to transfer specific Titan Mail emails to Outlook PST.
- Simplified user graphical interface for all types of users.
- Supports all versions of Outlook and Windows operating systems.
- A free demo version to check its working procedure without any cost.
Watch How to Transfer Titan Email to Outlook
Conclusion
In this blog, we have discussed how to add Titan Mail to Outlook. Here, we have explained manual as well as automated solutions to export Titan emails to Outlook. Both methods are 100% workable and give accurate results. You can choose any method that is most suitable for you. In the manual approach, you must have the technical knowledge to configure both email accounts. However, with an automated solution, you can easily complete this task without any configuration.
Frequently Asked Questions
Q 1. How do I sync Titan emails with Outlook?
Ans. You can manually export Titan Mail to Outlook or use an automated tool. Both methods are explained in this blog.
Q 2. Can I transfer Titan Mail to Outlook for free?
Ans. Yes, using IMAP method you can transfer emails from Titan to Outlook freely.
Q 3. Is it possible to export emails from multiple Titan email accounts to Outlook?
Ans. Yes, the automated software allows you to transfer Titan Mail to Outlook in batch.


