How to Move Emails from One Account to Another in Office 365?
Jim Backus | March 1st, 2025 | Email Migration, Office 365
Overview: This blog explains how to move emails from one account to another in Office 365 using two methods: PowerShell commands and an automated migration tool. The manual method involves using PowerShell and Exchange Online Management Module to transfer emails from the source mailbox and import them into the target account. So, do check out this blog and get the solution you are looking for in easy steps.
Office 365 (now Microsoft 365) is a widely used cloud-based email and productivity service that helps businesses manage communication and collaboration efficiently. Many users need to move emails from one Office 365 account to another due to various reasons, such as employee departures, account consolidation, business mergers, or security concerns.
Since Office 365 does not provide a built-in one-click solution for email transfers, users must rely on manual methods like PowerShell commands or third-party migration tools to complete the process. The PowerShell method is suitable for IT professionals but requires technical expertise and can be complex. On the other hand, an automated migration tool simplifies the process in easy steps.
Don’t worry! We have explained both methods in simple language so that anyone, with or without technical skills, can understand them easily. Read each method carefully and follow the one that suits your needs.
How to Move Emails from One Account to Another in Office 365 PowerShell?
Prerequisites: Before you begin, make sure you have:
- Administrative access to Office 365.
- PowerShell installed on your computer.
- The Exchange Online Management Module is installed.
Follow the steps explained below to transfer emails from one Office 365 account to another using PowerShell.
Step 1. Run PowerShell as an Administrator.
Step 2. Install the Exchange Online Management Module.
Install-Module -Name ExchangeOnlineManagement
Step 3. Connect to Exchange Online.
Connect-ExchangeOnline -UserPrincipalName your-admin@domain.com -ShowProgress $true
Step 4. Export Emails from Source Mailbox:
Create a content search to find emails in the source mailbox:
New-ComplianceSearch -Name “ExportEmails” -ExchangeLocation “source@domain.com” -ContentMatchQuery “received>=01/01/2022 AND received<=12/31/2022”
Start the content search:
Start-ComplianceSearch -Identity “ExportEmails”
Export the search results to a PST file:
New-ComplianceSearchAction -SearchName “ExportEmails” -Export -Format “PST”
Step 5. Download the PST File:
Follow the provided link from the export job notification email to download the PST file to your local machine.
Step 6. Import Emails to Target Mailbox:
Use the New-MailboxImportRequest cmdlet to import the PST file into the target mailbox:
New-MailboxImportRequest -Mailbox target@domain.com -FilePath “\\path\to\exportedfile.pst”
Step 7. Monitor the Import Request:
Check the status of the import request:
Get-MailboxImportRequest
View detailed information if needed:
Get-MailboxImportRequestStatistics -Identity target@domain.com\MailboxImport
Step 8. Disconnect from Exchange Online:
Disconnect-ExchangeOnline
These steps outline the process to move emails from one Office 365 account to another using PowerShell.
Note: This process involves technical steps. Thus, it is advised to take the assistance of any expert professional if you don’t understand how to implement this method.
How to Transfer Emails from One Account to Another in Office 365?
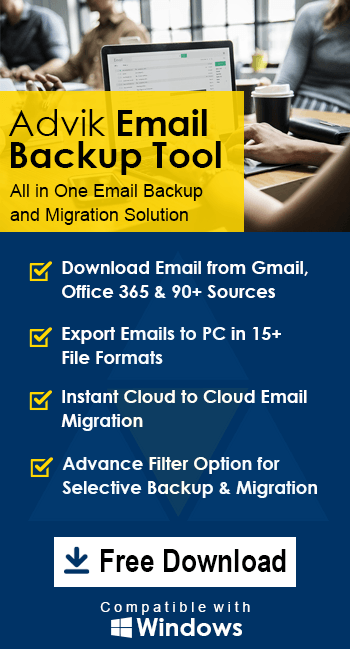
Check out the Advik Office 365 Migration Tool to complete this task easily. This program will move Office 365 emails to another account in a few simple steps. All you need to do is provide the details of both the Office 365 email accounts and carry out this email migration. Also, this software will maintain folder hierarchy and email attributes during the process.
Download the software and try it for free.


Steps to Move Emails from One Account to Another in Office 365
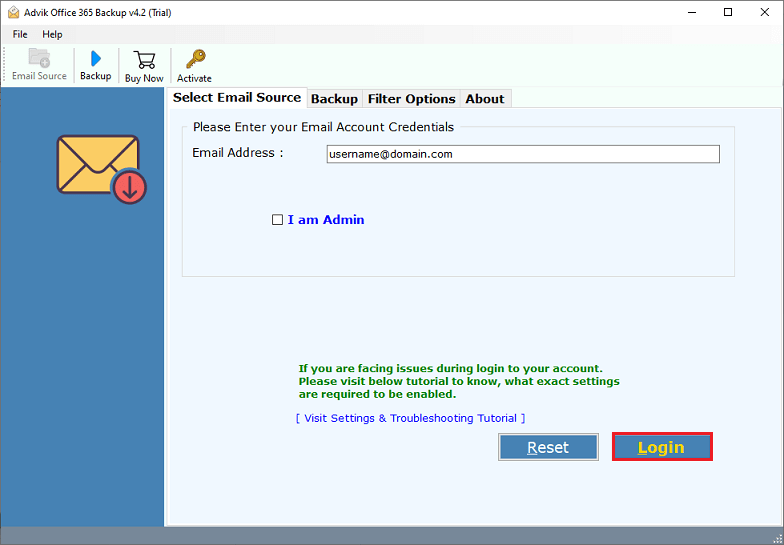
Step 1. Run this, Office 365 Backup Tool on your Windows System.
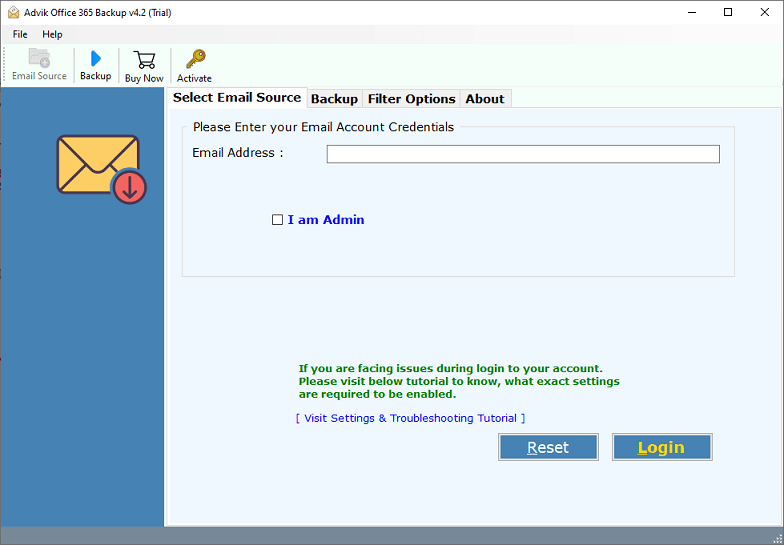
Step 2. After that, enter your Office 365 email address and log into the software panel.
Step 3. Choose mailbox folder(s) to transfer/migrate.
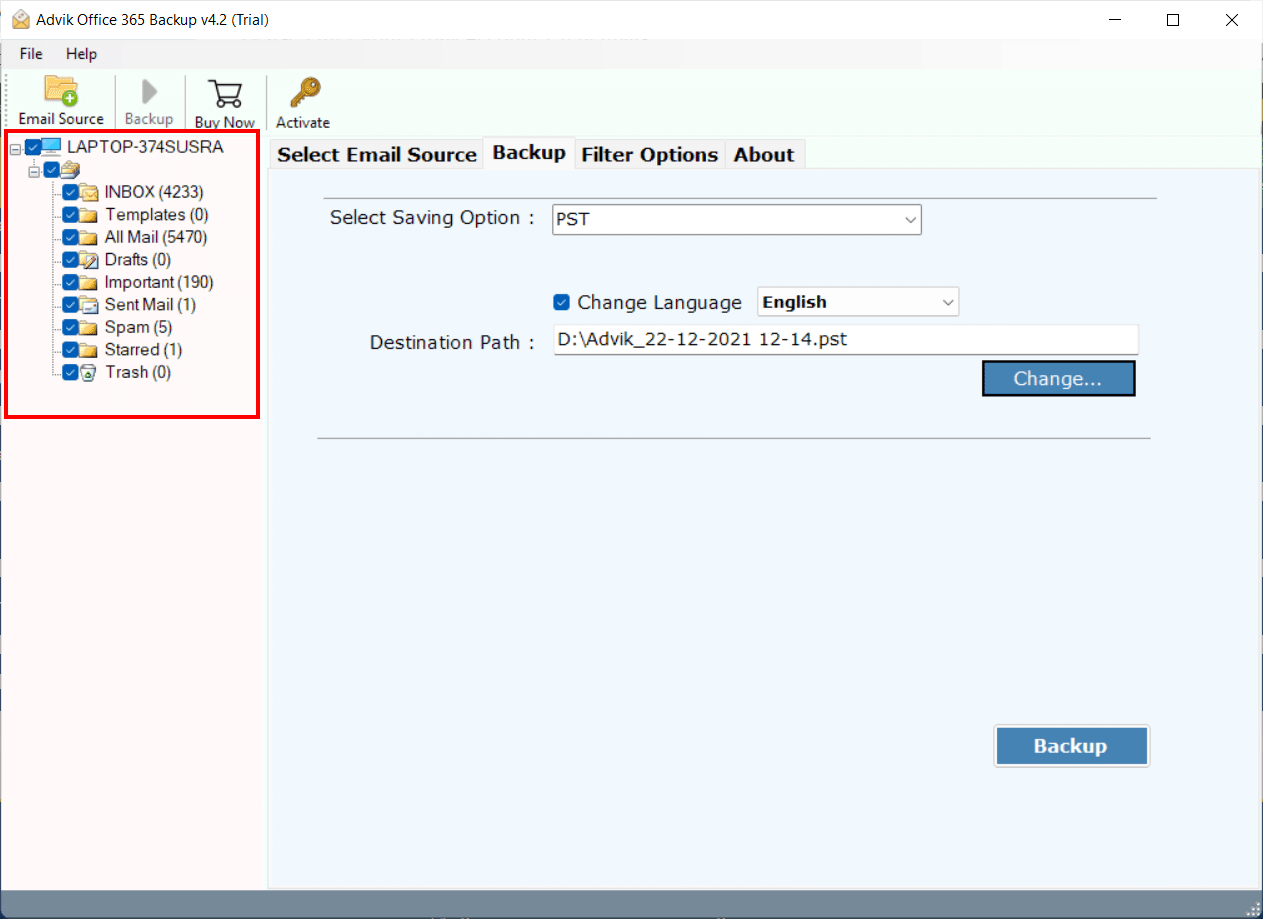
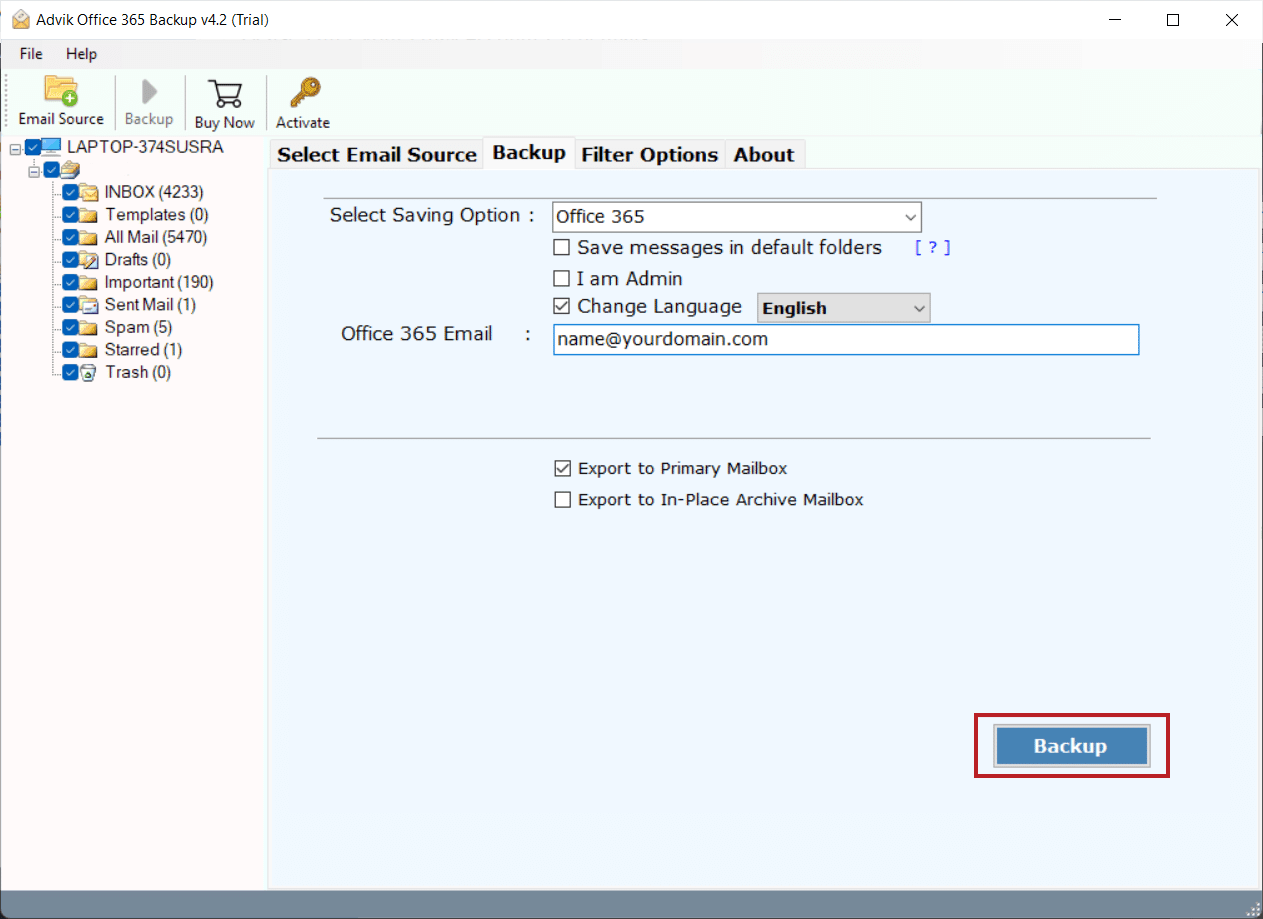
Step 4. Choose Office 365 as a saving option.
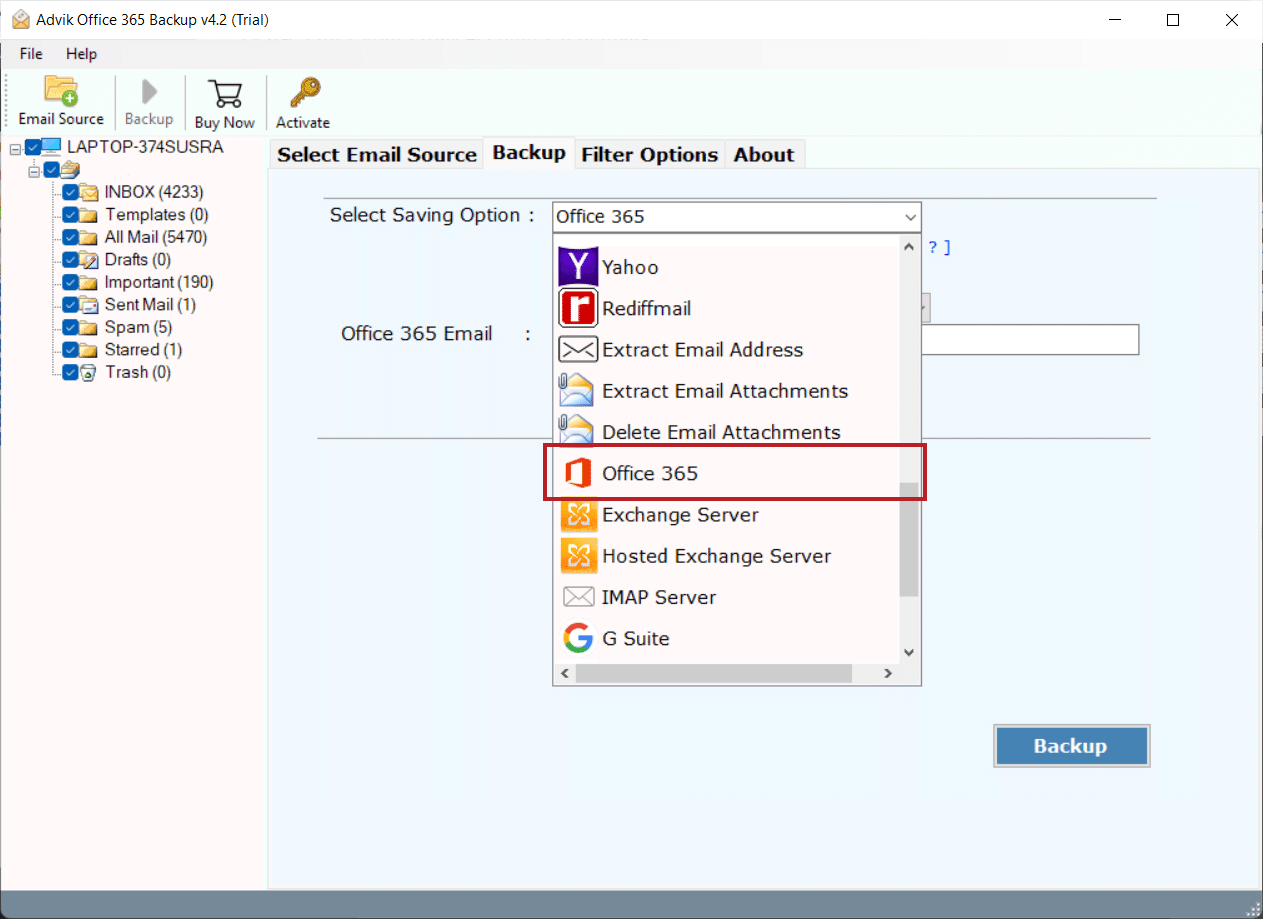
Step 5. Enter another Office 365 login credentials and press the Backup button.
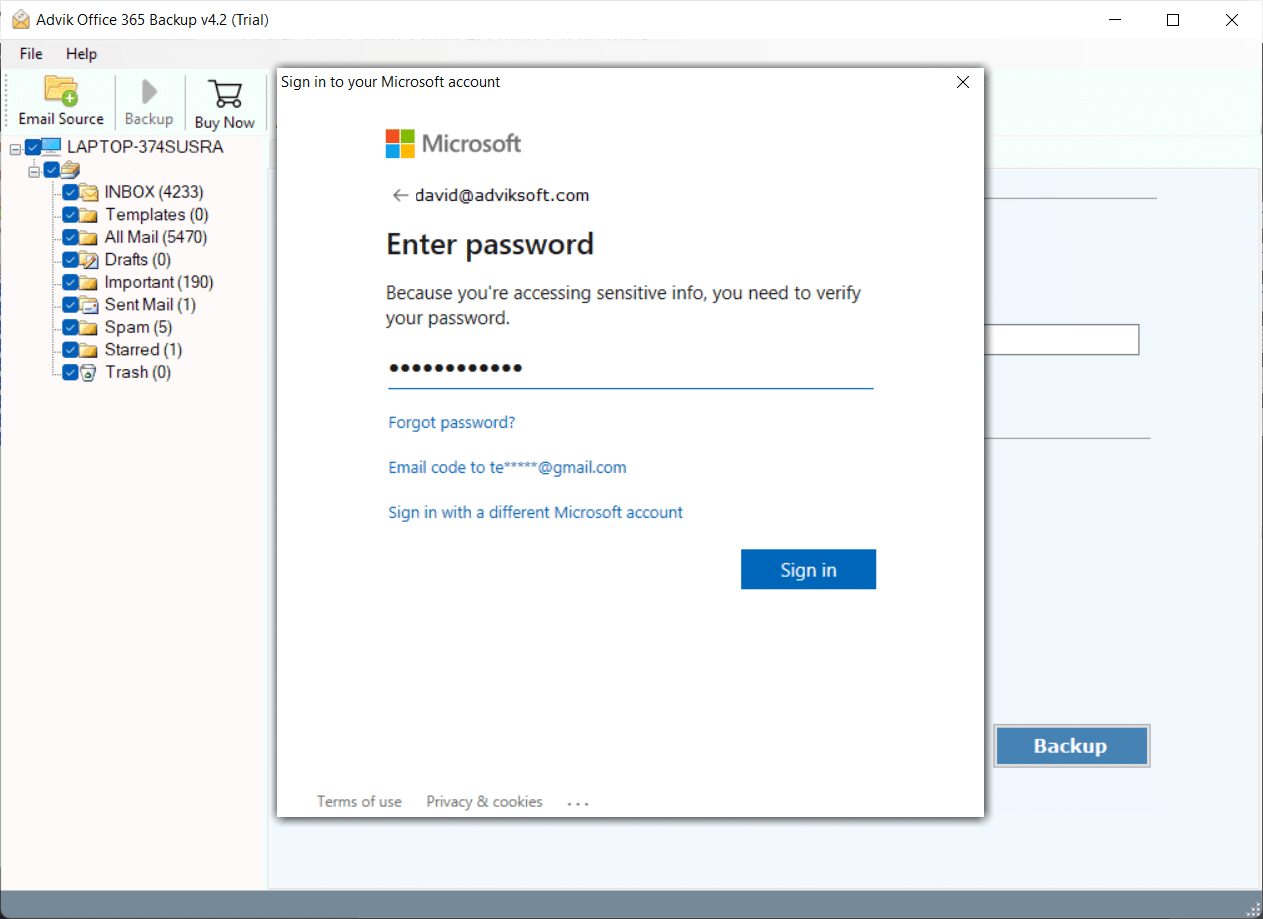
Step 6. Lastly, sign into your Microsoft account.
Soon the Office 365 to Office 365 migration process will start automatically.
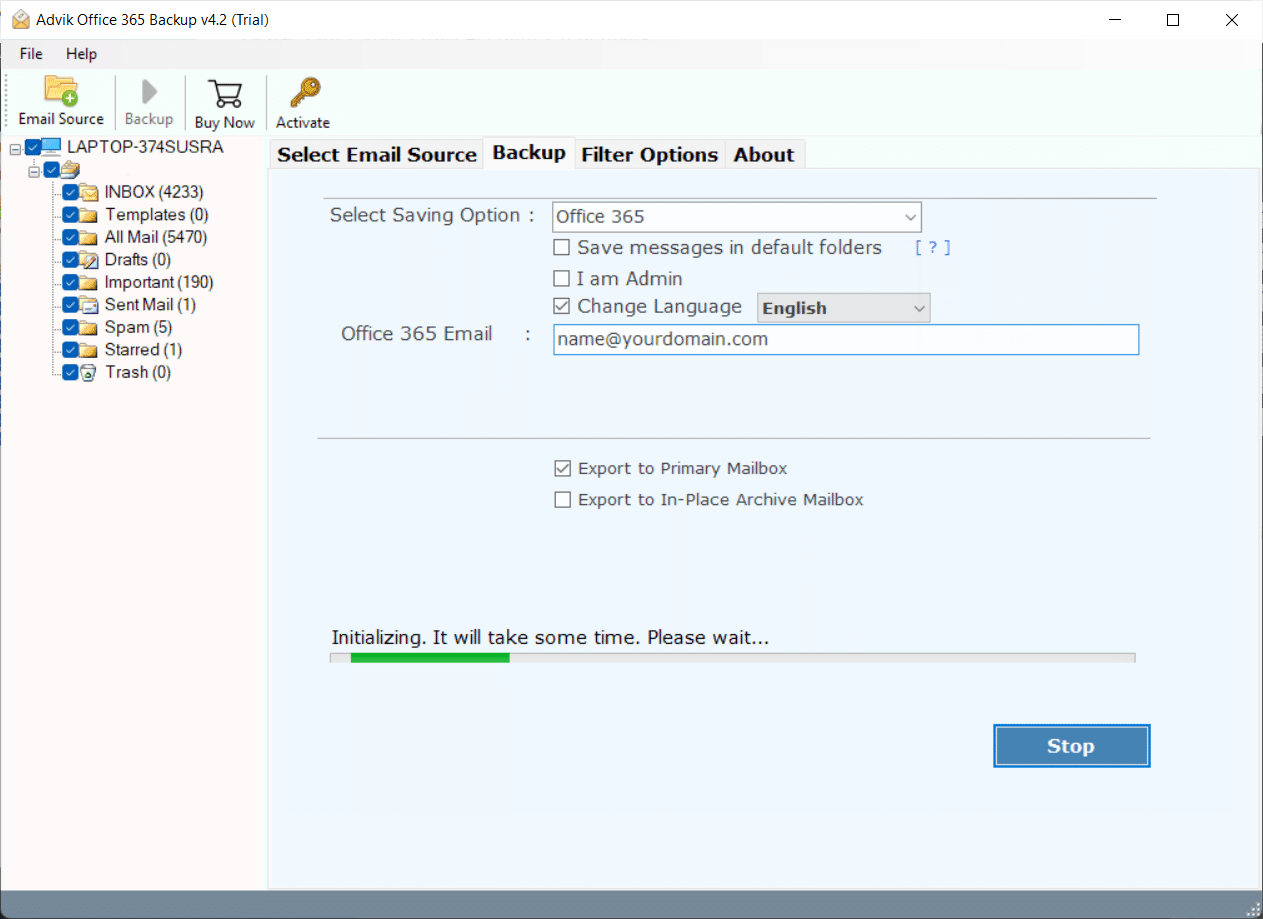
Now, sit back and relax. Let the software do the rest.
This magical wizard will move emails from one Office 365 account to another in no time.
Once the process is completed, log in to your Office 365 email account and check all the transferred emails there.
Watch How to Transfer Office 365 to Another Account
Why Choose This Automated Software?
- Bulk email transfer support for moving multiple mailboxes at once.
- Export PST from Office 365 Admin in one click.
- Download all attachments from Office 365 to local drive in one attempt.
- Save Office 365 Emails to Flash Drive as a mirror copy.
- Advanced Email Filter Option for Selective Office 365 data transfer.
- Easily transfer Office 365 mailbox to another account in just 5 simple steps.
- Freedom to store a resultant file on any safe destination in the computer.
- Export Office 365 emails to PDF, MBOX, EML, HTML, CSV, and many more.
- Secure OAuth authentication ensures 100% data privacy and protection.
- Compatible with all Office 365 Plans, including Business, Enterprise, and Exchange Online.
- No Outlook dependency; Export and migrate emails without needing Microsoft Outlook.
- Intuitive and user-friendly interface for hassle-free migration, even for beginners.
Final Verdict
Choosing the right method to move emails from one account to another in Office 365 depends on your specific needs. This blog provides manual methods & automated solutions to transfer Office 365 emails to another account. However, performing manual tasks is not easy. It consists of several technical steps that are difficult for non-tech users to perform. Thus, we suggest you try an automated software to complete this process without any difficulties.
Also, you can try its free Trial version to migrate the first 25 items from each folder for free.