How to Import PST to Rackspace Without Outlook?
Jackson Strong | February 10th, 2024 | Email Migration, Outlook
Are you having trouble importing PST file into Rackspace Mail? Do not worry! In this blog, you will learn how to Import PST to Rackspace account in easiest way. The best part of the following solution is that you don’t need an MS Outlook installation.
Many users have sent a request to migrate from Outlook to Rackspace. To solve this question, we have updated our toolkits for advanced email migration.
How to Import PST to Rackspace Email Account?
Use Advik PST Converter Wizard which allows you to import PST to Rackspace email account. This is the one-stop solution to transfer complete emails from PST file to Rackspace account. It offers easy to use interface and offers multiple beneficial features. With this utility, one can easily bulk upload PST to Rackspace at the same time. Some of the best features of this tool are as follows;
- Import PST to Rackspace with no file size restrictions
- Keep UNICODE texts (not English)
- Maintain folder structure and email attributes
- Unlimited data transfer from the PST file to Rackspace account
Step 1. Run software into your system.
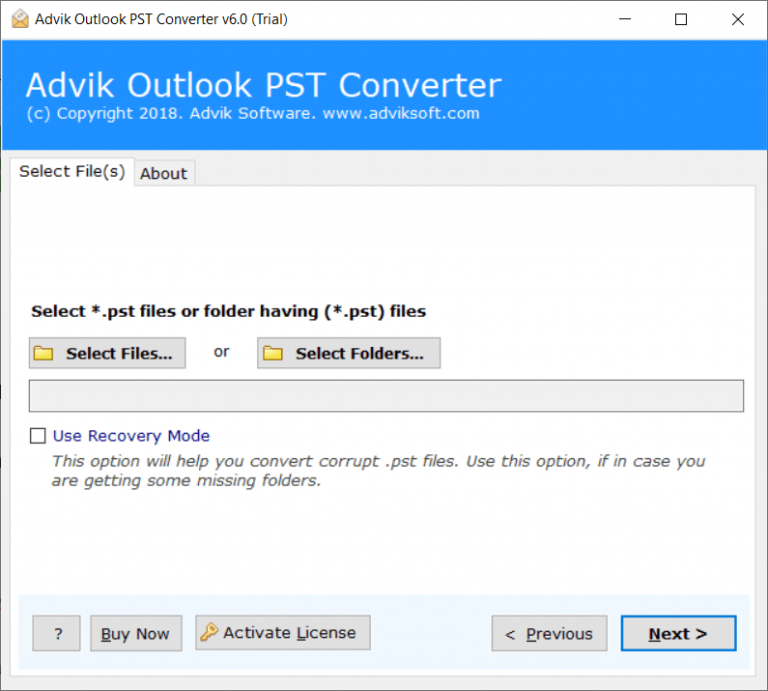
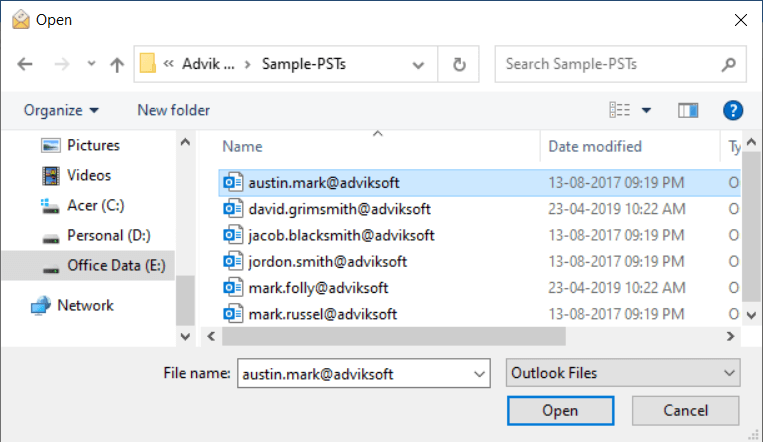
Step 2. Add PST file into the software panel.
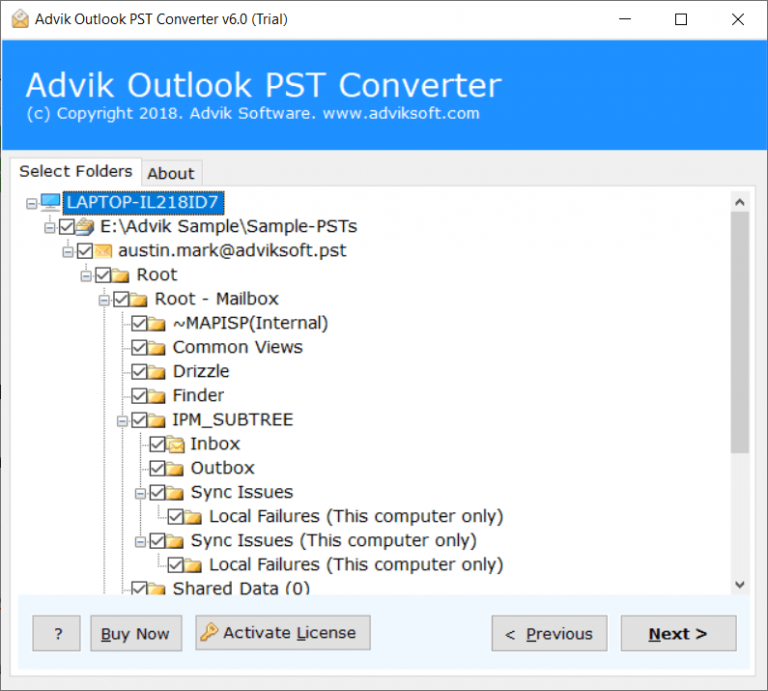
Step 3. Select desired mailbox folder that you want to upload.
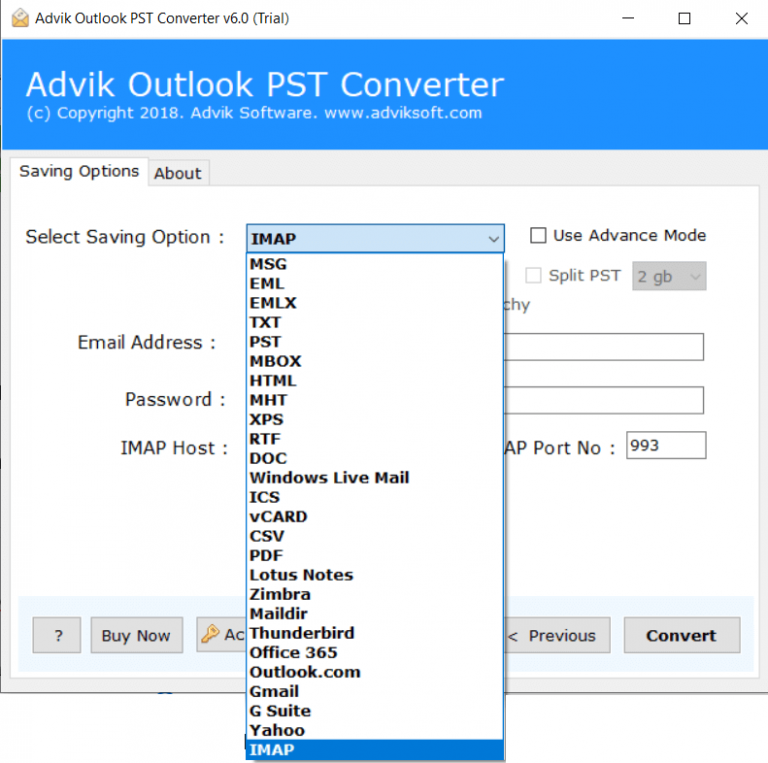
Step 4. Choose IMAP as saving option from the list.
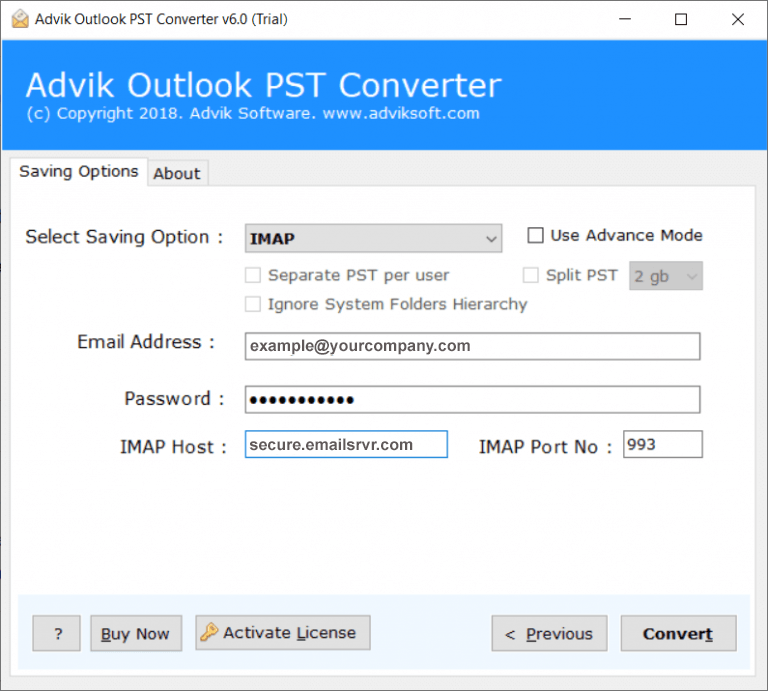
Step 5. Enter Rackspace mail IMAP Credentials.
Step 6. Click on Convert button to start the process of Import.
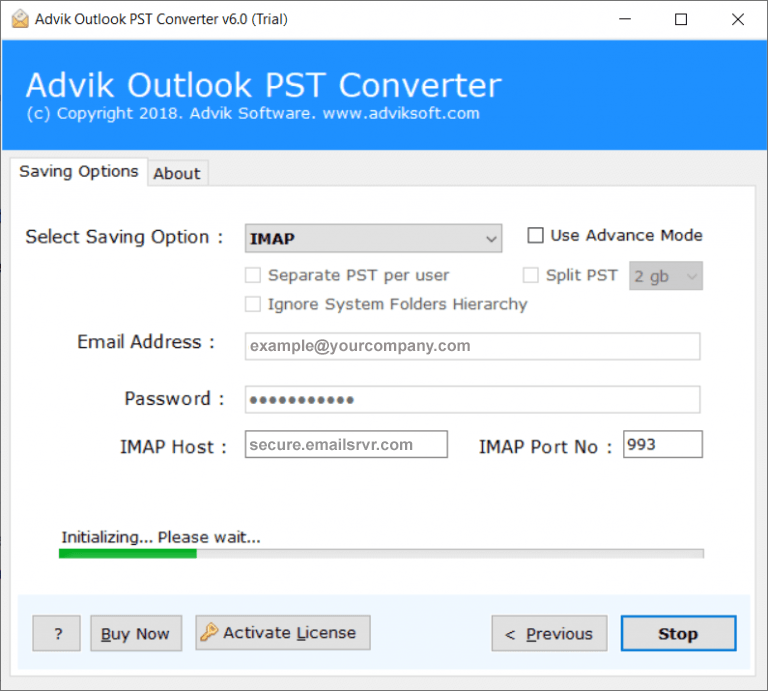
Finished! Now sit back and relaxed. The software will automatically start uploading PST emails to Rackspace Mail account.
Watch How to Import PST to Rackspace Account.
Note:
- Use “secure.emailsrvr.com” as IMAP Host and “993” as IMAP Port.
- Enable IMAP and Less Secure Apps of Rackspace account.
Conclusion
In the blog above, we explained the best way to Upload PST to Rackspace account using Advik Software. You can also download the free trial version to check the efficiency of the tool.