How to Import PST to DreamHost Email Account?
Jackson Strong | January 15th, 2025 | Import Emails
Summary: Are you looking for ways how to import PST to DreamHost email account and haven’t gotten any possible solution yet? Relax! this article will be the last one you are struggling to get methods. Here, you will get two easy ways to easily open PST file in DreamHost mail account. Go through this article completely and solve your query now.
Moving emails from PST files to a DreamHost email account can be necessary when switching email services or consolidating accounts. PST files store emails, contacts, and calendar data from Microsoft Outlook, but DreamHost email accounts use IMAP-based email storage.
Let’s check out the benefits of transferring emails from PST files to DreamHost account.
Why Import PST Files to DreamHost Account?
There are several reasons why you might need to transfer emails from PST to DreamHost email:
- Switching from Outlook to DreamHost: If you’re moving from Microsoft Outlook to DreamHost, you need to transfer old emails.
- Backup and Restore: Keeping a backup of important emails in your DreamHost account ensures accessibility from anywhere.
- Email Account Consolidation: If you manage multiple email accounts, moving emails from PST to DreamHost helps organize all messages in one place.
- Business Email Migration: Organizations switching to DreamHost may need to transfer emails from existing PST files.
Since DreamHost does not support direct PST file import, you need to use an indirect manual or an automated method to transfer emails smoothly. In the upcoming sections, we will explore the best methods to import PST files into DreamHost email accounts, including both manual steps and an automated solution for hassle-free migration.
How to Open PST File in DreamHost Mail Free?
This method involves setting up your DreamHost email account in Microsoft Outlook and transferring emails manually.
Follow these steps:
- Open Microsoft Outlook on your computer.
- Go to File > Add Account.
- Enter your DreamHost email address and click Connect.
- Choose IMAP as the account type.
- Enter the following DreamHost email settings.
- Click Next and then Finish to complete the setup.
- Click on File > Open & Export > Open Outlook Data File (.pst).
- Browse to the PST file location and select it.
- The PST file will appear in the left panel under your email folders.
- Drag and drop emails from the PST folder to the DreamHost IMAP folders (Inbox, Sent, etc.).
- Wait for Outlook to sync emails with the DreamHost server.
- Once completed, log in to your DreamHost webmail to check if emails are successfully imported.
Limitations of the Manual Method:
- Time-consuming for large PST files.
- Attachments and folder structure may not be preserved properly.
- Requires Outlook installation, which is not ideal for non-Outlook users.
How to Migrate PST Emails to DreamHost Account Automatically?
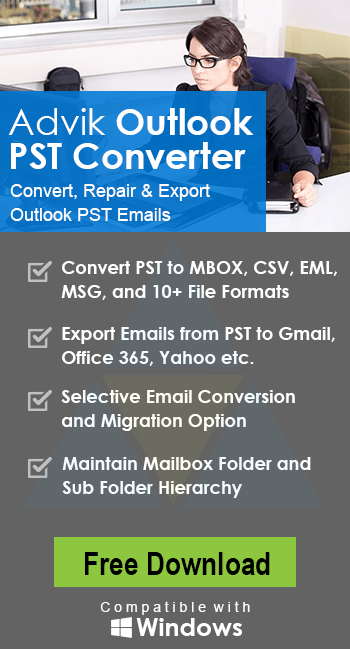
If you want a fast and error-free way to import PST to DreamHost email, using an automated tool is the best option. With the help of the Advik PST Converter Tool, you can complete the PST to dreamHost emails importing process in a few simple clicks. The tool will maintain folder and sub-folder hierarchy and structure. There will be no data loss while importing PST emails to DreamHost email account.
Try the demo version of the software. Trial one will import 25 emails from each folder.


Steps to Import PST to DreamHost Mailbox
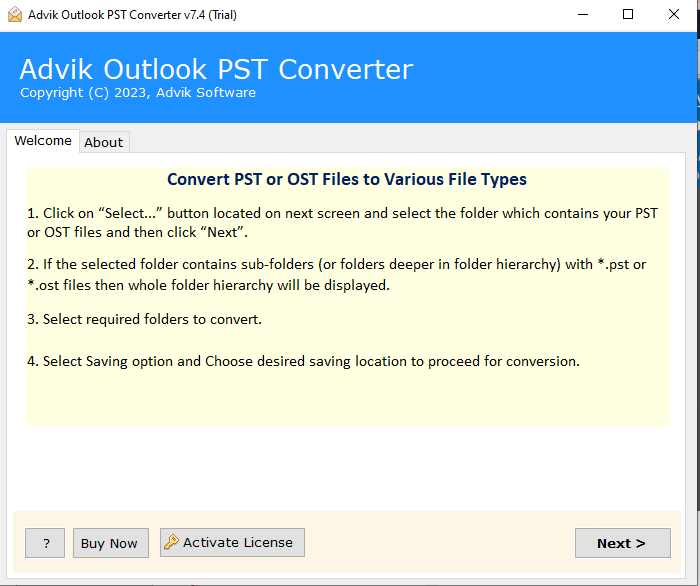
1. Run the software on your system.
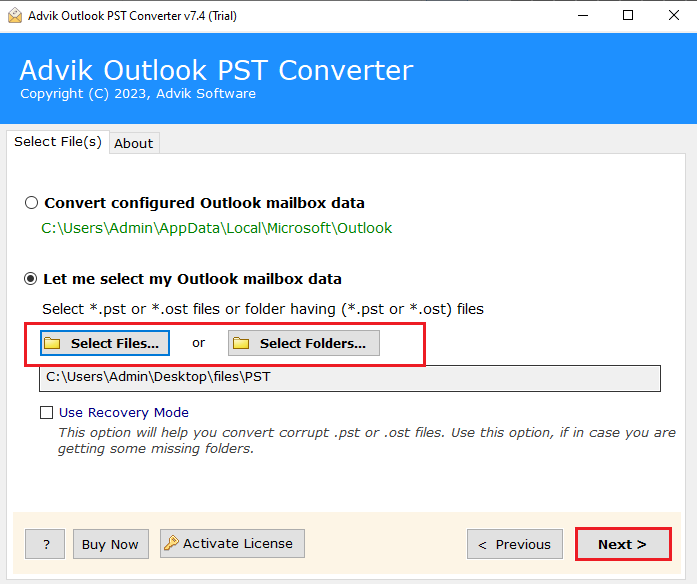
2. Add PST files or folders.
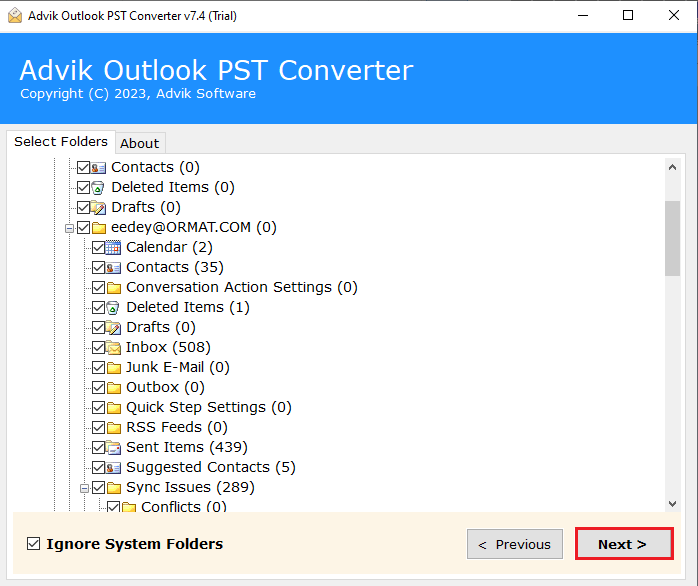
3. Select the email folders you want to migrate.
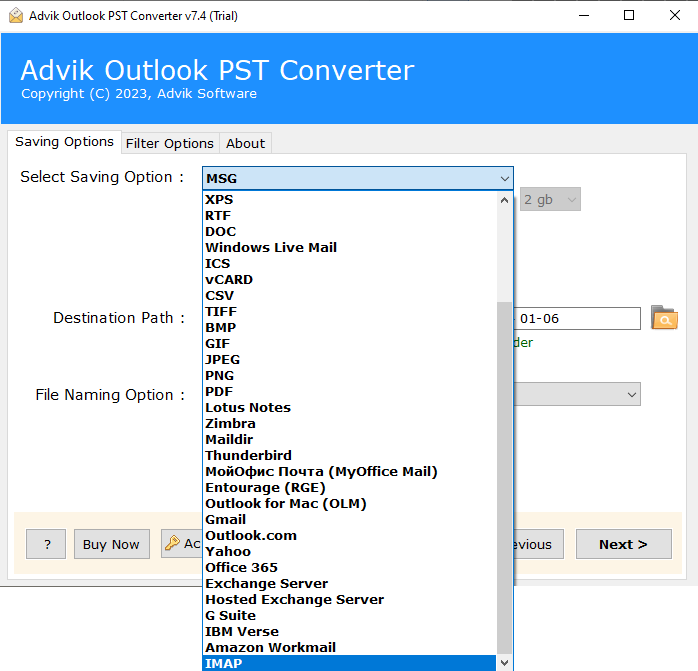
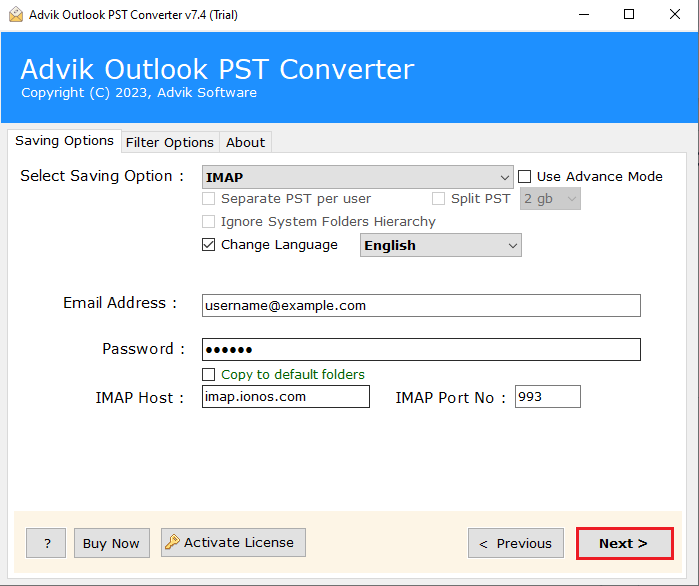
4. Choose IMAP from the given saving options.
5. Enter your DreamHost email id and app password. At last, hit the Convert button.
Done! Here complete the PST to DreamHost migration in a few simple clicks.
Watch How to Open PST File in DreamHost
Why Use Automated Tool for Import?
- Maintain email folder and sub-folder hierarchy throughout the process.
- Offer a recovery mode that allows importing of corrupted data files as well.
- Advance filter options for selective importing process.
- Move PST emails directly to DreamHost without manual steps.
- Import multiple PST files in one go.
- Maintains attachments, metadata, and folder hierarchy.
- Works without installing Microsoft Outlook.
- Easily imports large-sized PST files without data loss.
- Preserve data integrity while moving PST files into DreamHost account.
- Allow to import PST to Gmail and other webmail accounts.
- Compatible with Windows 11, 10,7, and all other older versions.
- A free demo version is available that can import 25 emails from each folder.
Conclusion
We hope this guide on how to import PST to DreamHost was helpful. The manual method takes time and requires specific settings. However, using the Advik software makes the process easier and faster. It allows bulk migration while keeping email data safe and intact. This tool provides a smooth and hassle-free way to transfer PST files to DreamHost email account. For more info, try the free demo version.