How to Import PST to MailPile Client?
Jackson Strong | September 26th, 2024 | Import Emails
Learn the step-by-step instructions to import PST to MailPile client. In this article, we will provide two different methods to open PST file in MailPile client. One is a manual method and the other one is an automated solution. Both methods are explained in detail in the upcoming section. So, read this article till the end and choose anyone that is most suitable for you.
PST is the file format used by Outlook to store mailbox data including emails, contacts, calendars, notes, tasks, and many more. On the other hand, MailPile is an open-source email client that focuses on privacy, security, and user control. It allows users to encrypt, decrypt, and search their emails while keeping sensitive data private. With its user-friendly interface, it is easy for users to operate this. Therefore many of the users prefer to transfer their PST file into MailPile mailbox.
Now, without any further delay, let’s start the importing process.
How to Open PST in MailPile Client for Free?
- Launch Outlook application on your system.
- Click on File tab and select Add Account option.
- Choose IMAP as the account type.
- Enter MailPile email address and password.
- Fill IMAP Server details and click on Continue.
- Wait for Outlook to sync all your MailPile emails.
- Once done, your MailPile mailbox folders are visible in Outlook.
- Now, navigate to File >> Open & Export >> Import/Export.
- Choose Import from another program or file and press Next.
- Select Outlook Data File (.pst) and click Next.
- Browse and choose .pst file that you want to upload into MailPile.
- Choose MailPile mailbox folder and click the Finish button.
Done! That’s how you can manually import PST to MailPile client.
Limitations of Manual Solution
- It is a lengthy and time-consuming process.
- Users must have technical experts to configure email accounts.
- Outlook must be installed on your system.
How to Transfer PST File to MailPile Client Automatically?
Try Advik PST Converter on your system and import PST to MailPile in a few simple clicks. You just need to add .pst file into the software, choose IMAP as a saving option, enter MailPile account login details, and click on Convert to begin the importing process. The software has a dual mode to transfer single or multiple PST files at once. It preserves all email attributes and the folder structure will remain the same during the process. You can also upload the selected emails from PST file based on date range, to, from, subject, etc.
Click on the below link and try it for FREE.
Steps to Import PST to MailPile Client
1. Run this software on your system.
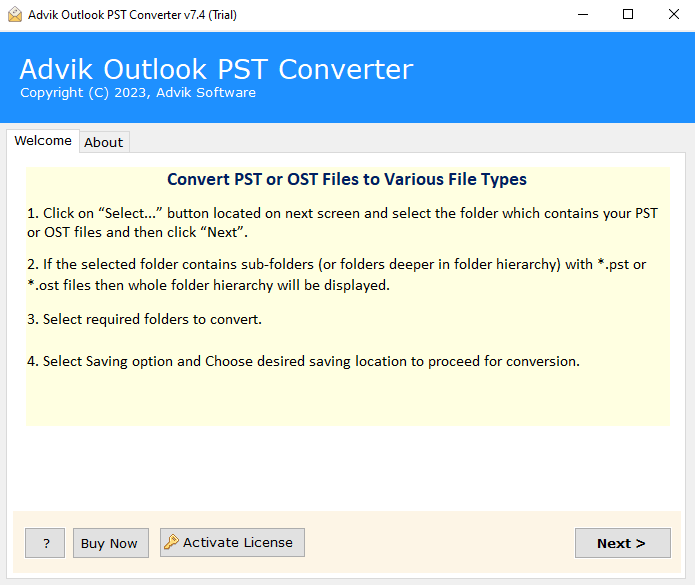
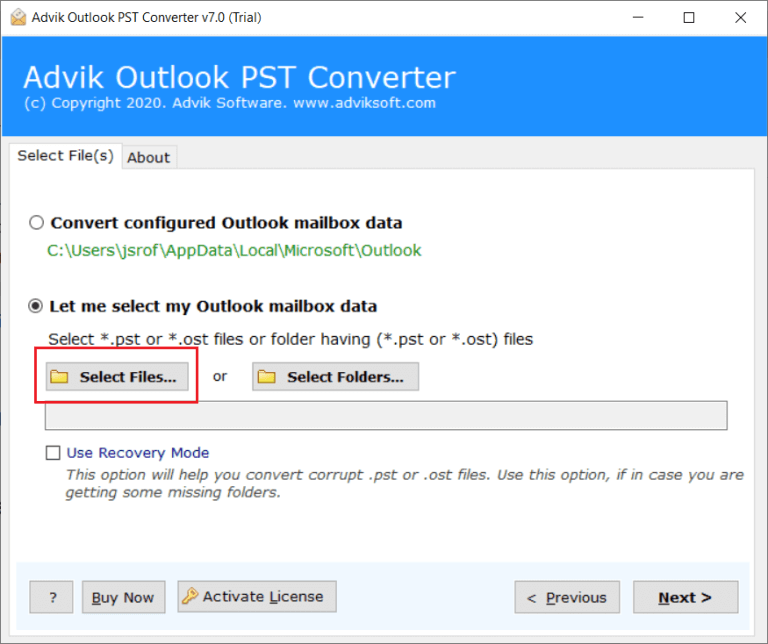
2. Click on Select Files or Folders to add PST file into the software.
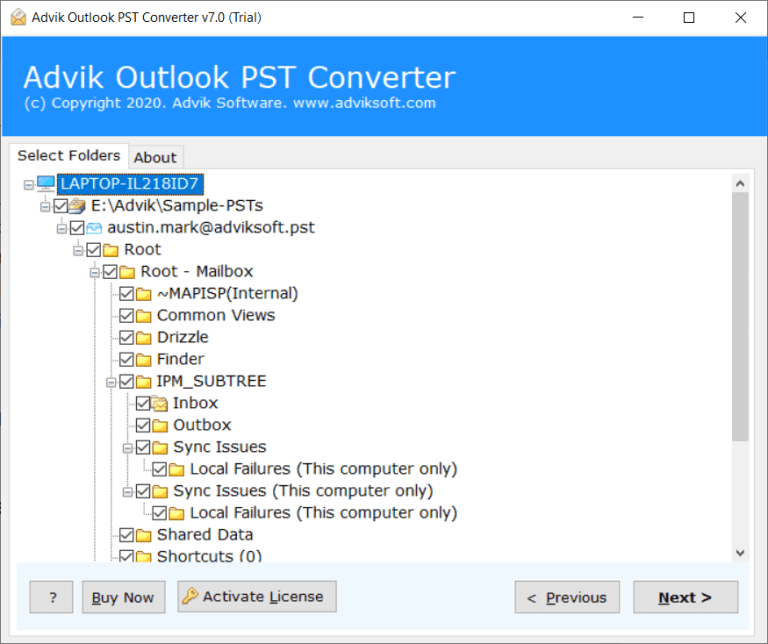
3. Choose the required email folders and click Next.
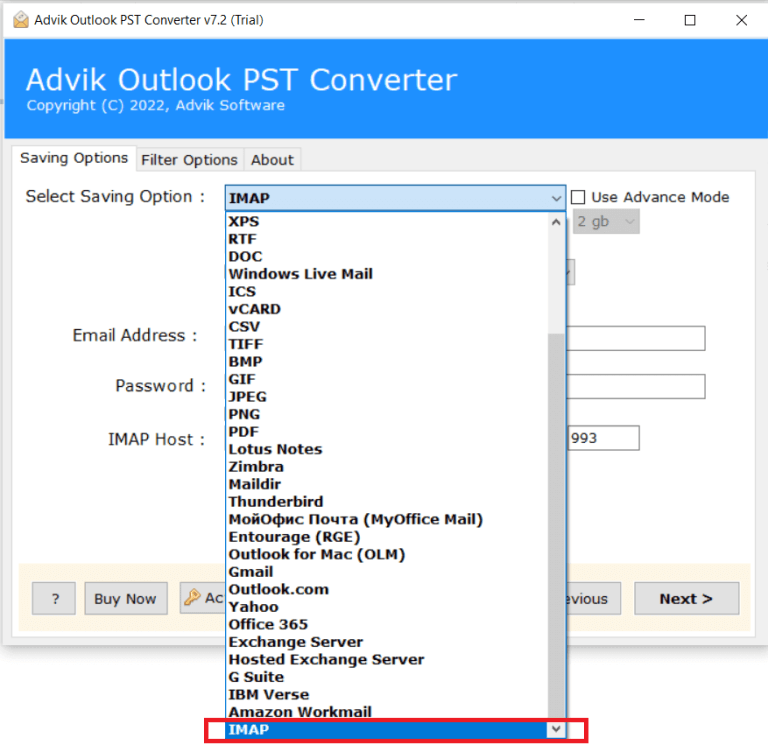
4. Select IMAP as a saving option.
5. Enter MailPile account login details.
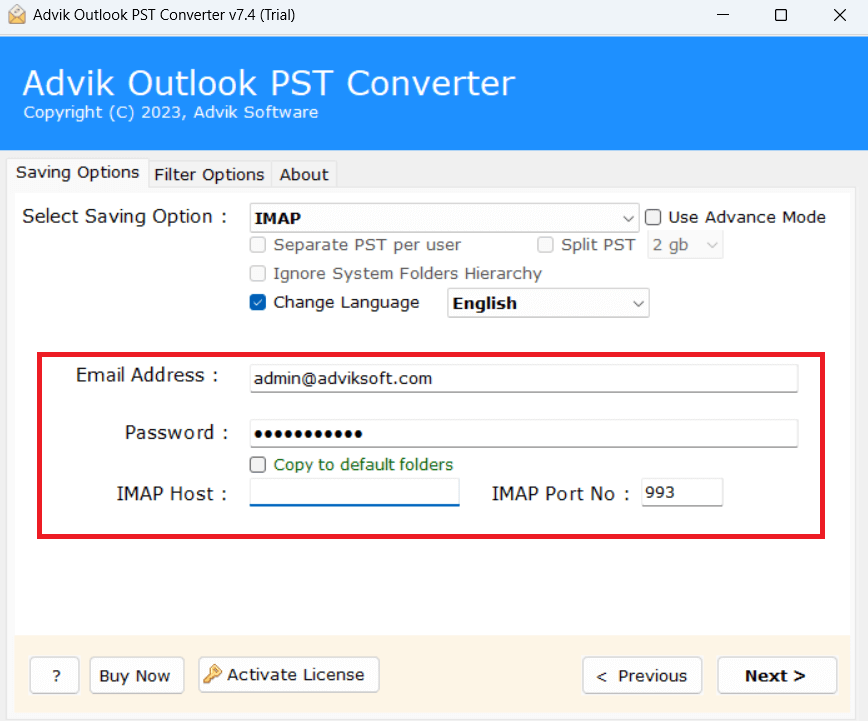
6. Click on Next button to begin the importing process.
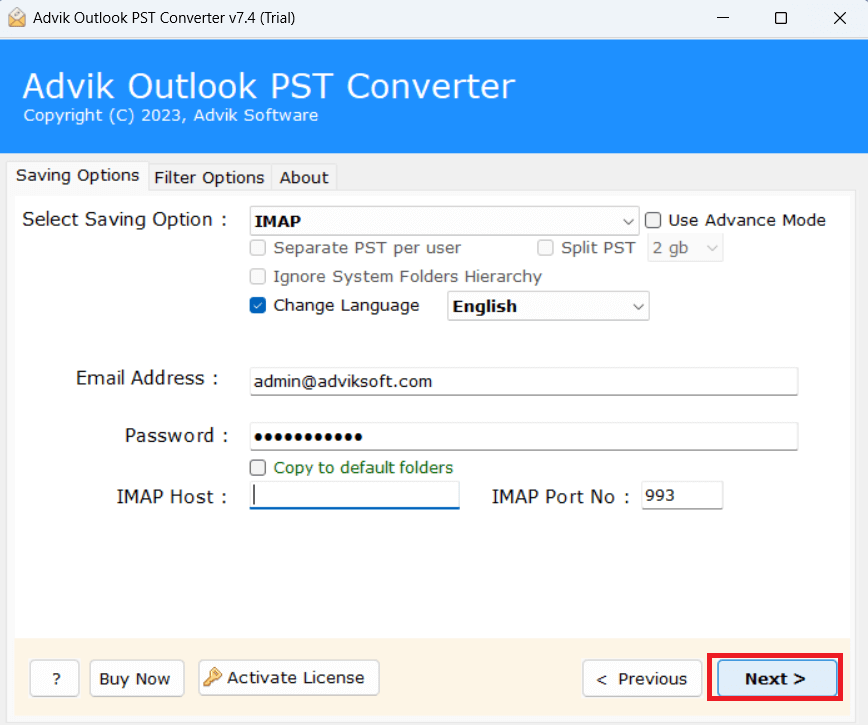
The software will complete importing emails from PST to MailPile client in a few seconds. Now, open MailPile account and check transferred emails here.
Apart from the above functions, the tool offers various advanced features which are given below;
- Directly transfer PST file to MailPile client without external help.
- Preserve data integrity while importing PST file into MailPile account.
- Mainatin email folder and subfolder hierarchy as well during the process.
- Advnaced filter options for selective email importing.
- Compatible with Windows 11, 10, 8.1, 8, and all below versions.
- A free demo version is available to check its working procedure.
Watch How to Upload PST to MailPile
Conclusion
In this post, we have discussed how to import PST to MailPile client. Here, we have explained two different ways to open PST file in MailPile email account. Both methods are 100% workable and give accurate results. You can choose any method as per your need. However, in the manual approach, Outlook must be installed on your system to complete the process. While the automated solution can directly transfer PST file to MailPile client.

