How to Import PST to Resource Calendar?
Jackson Strong | October 17th, 2023 | Data Conversion, Outlook
Are you an Outlook user having some important emails stored in PST file format? Resource calendars are important to manage shared resources, meeting rooms, and other assets in an organization. Microsoft Outlook is a widely used application to manage calendars and import PST to resource calendar can be a useful way to centralize and organize your calendars. In this blog, we will explain useful ways to open PST file in the resource calendar.
What is a Resource Calendar? It is like a special calendar for a mailbox that automatically accepts appointments. Regular user mailboxes can’t be resource calendars because they always work differently. These calendars help to ensure that these resources are efficiently used without double bookings or conflicts.
You can also do it manually, but it requires Outlook installation and needs to follow three major steps. All these two methods have been thoroughly explained in detail so without further delay, let’s go through the solutions to upload PST file to Resource calendar.
How to Add PST File to Resource Calendar?
The first method is divided into three major steps that you need to follow in order to complete the process;
Note: You need to install the Outlook application on your system in order to import PST to resource calendar.
Step 1. Import PST File to Outlook
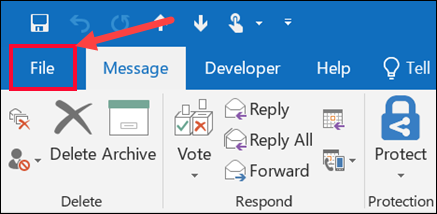
- Run the Outlook application and click the File tab.
- Then, choose Open & Export >> Import/Export to start.

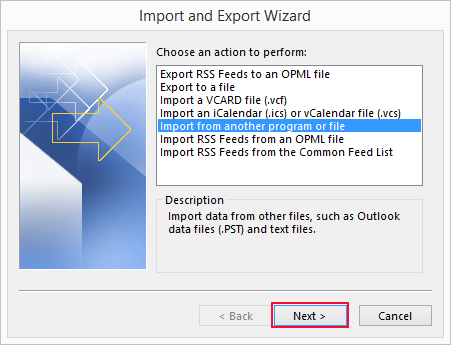
- After, select import from another program or a file, and then click Next.
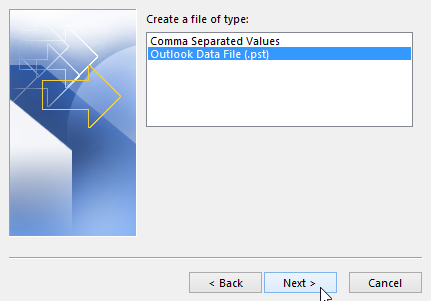
- Now, choose the Outlook data file(.pst) option.
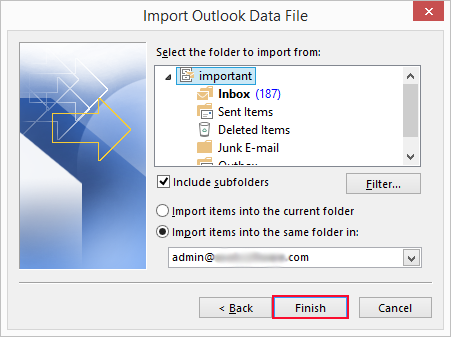
- Then, browse PST file that you want to import.
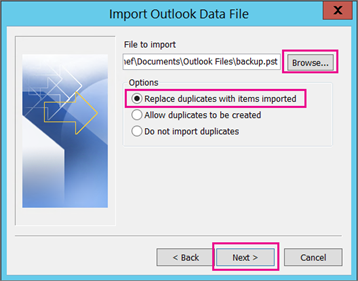
- Choose the folders of PST file and click on the Finish button.
Now, in a few minutes depending on the size of the data file, Outlook will complete importing PST file.
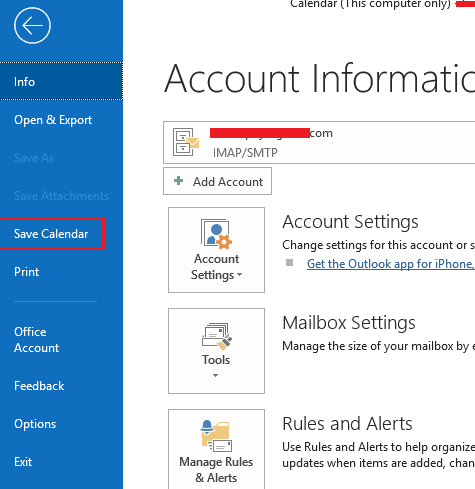
Step 2. Save Your Outlook Calendar
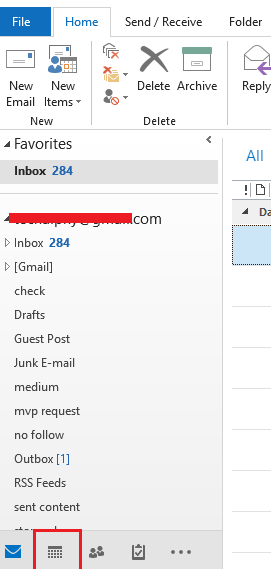
- Open Microsoft Outlook on your computer.
- Click on the calendar icon at the bottom to access your calendars.
- Pick the calendar you want to save.
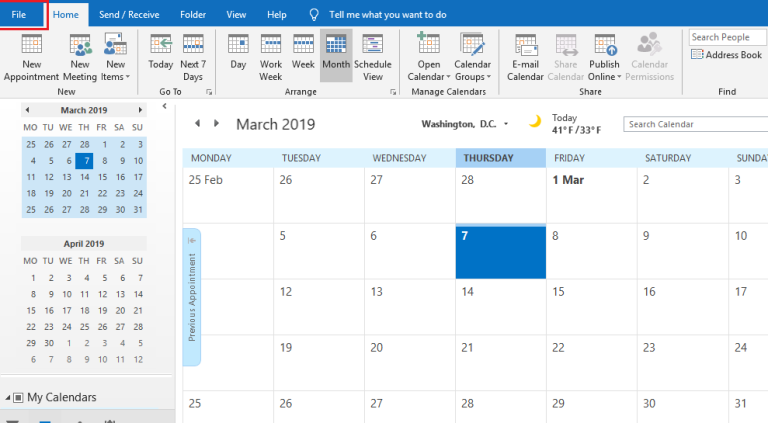
- Click the “File” button and choose “Save Calendar”.
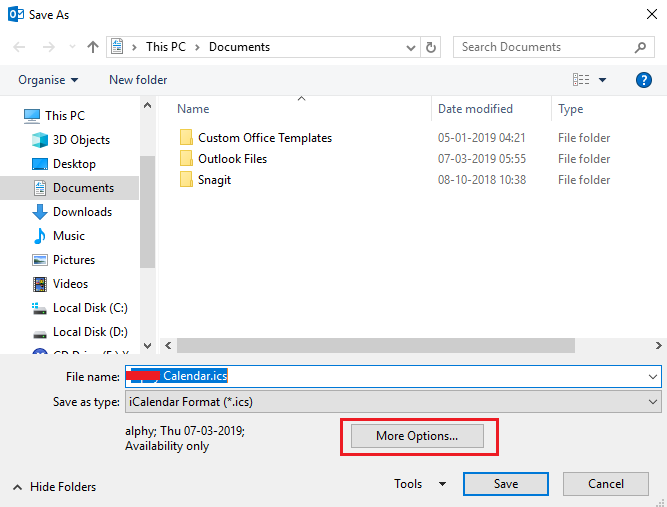
- Give your saved calendar a name and choose where to save it on your computer. Click “Save” to finish.
Step 3. Add Your Calendar to Outlook 365
- Log in to your Microsoft 365 account.
- Open the Calendar app in your Office 365 account.
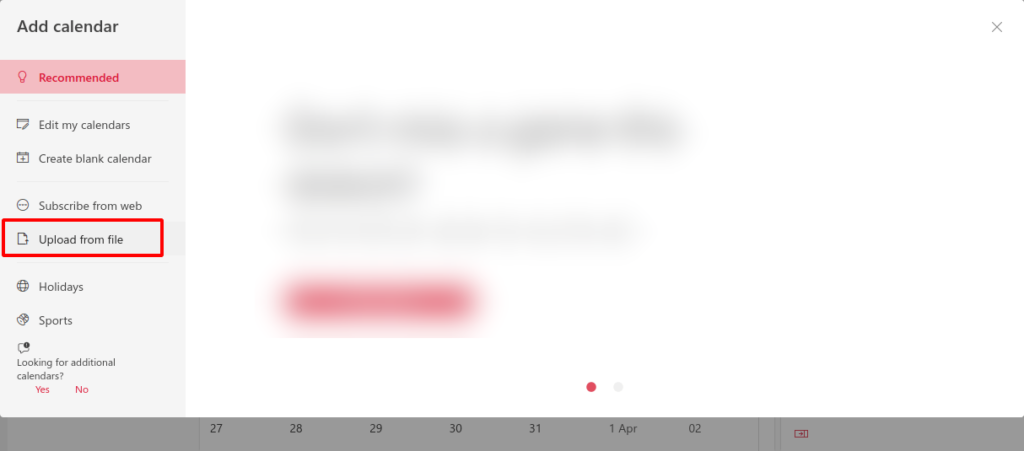
- Click on “Add Calendar”.

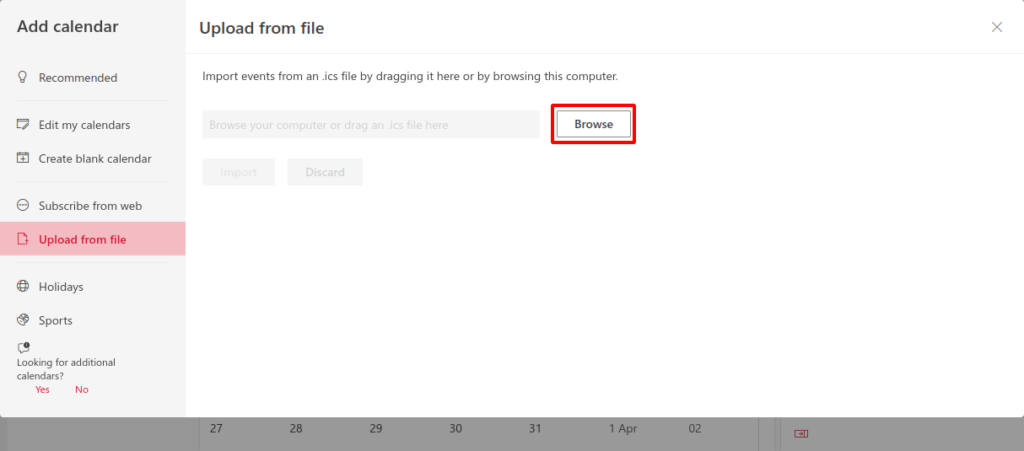
- Select “Upload from File” on the left.

- Click “Browse” to find and choose the ICS file you saved before.
- Then, click “Import” to begin adding the PST Calendar.
Once it’s done, you’ll get a message confirming it’s finished.
Limitations of Manual Method;
- You won’t be able to use this solution if import export greyed out in outlook.
- Lenghty and time-consuming process.
- Can’t import multiple PST files in a single step.
How to Import PST Calendar to Resource Calendar?
As you can see the above method is quite lenghty and users need to follow multiple steps to import PST file to Resource calendar. Now, you can try the Advik PST Converter Tool that allows you to import PST Calendar to Office 365 calendar in just a few simple steps. The utility also allows you to import PST emails, contacts, and any other data to Office 365 calendar. Also, the best part of this utility is that it allows users to import multiple PST file to Resource Calendar file format (.ics) at a time.


Steps to Import PST to Resource Calendar are as follows;
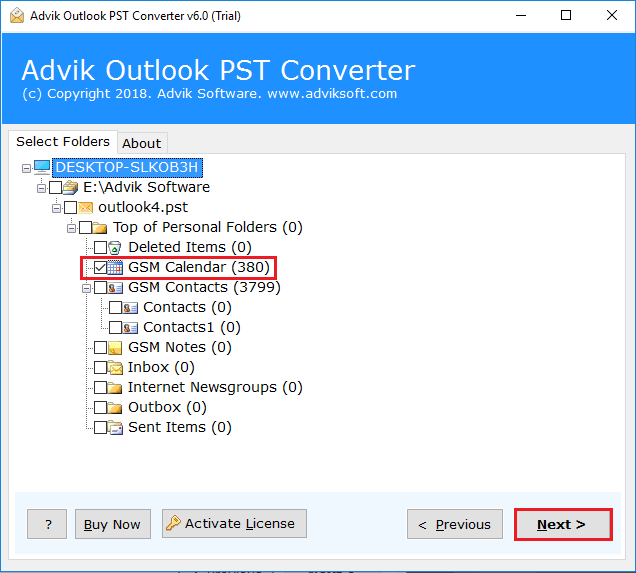
- Run software and add PST Files to the software.
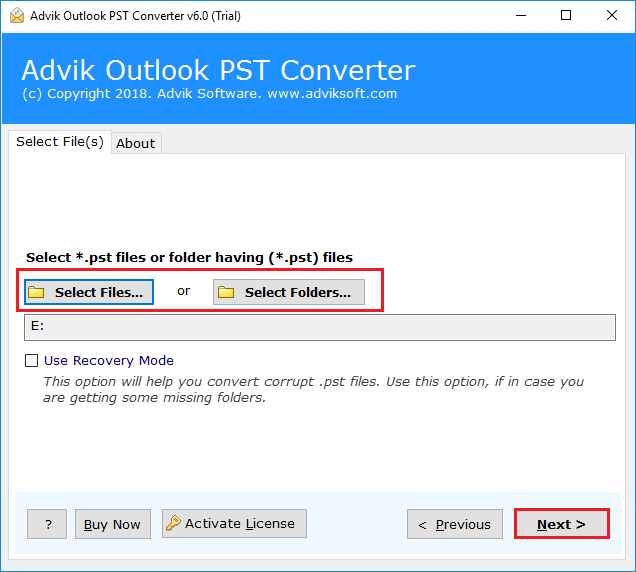
- Choose the required PST folders that you wish to import.
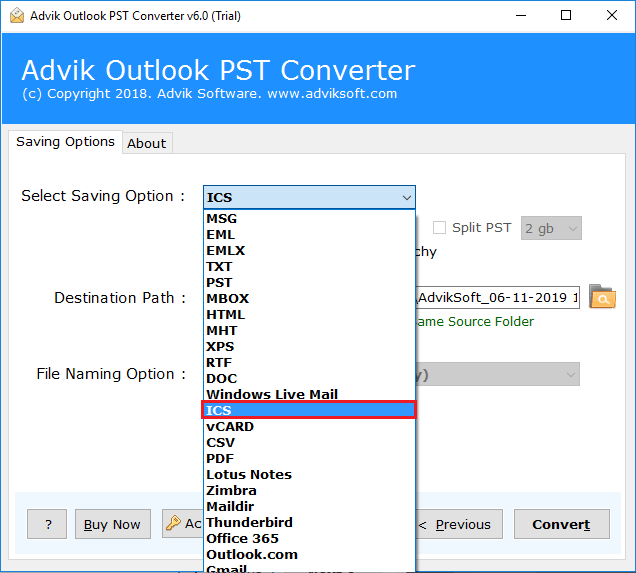
- Now, select ICS as a saving option from the list.
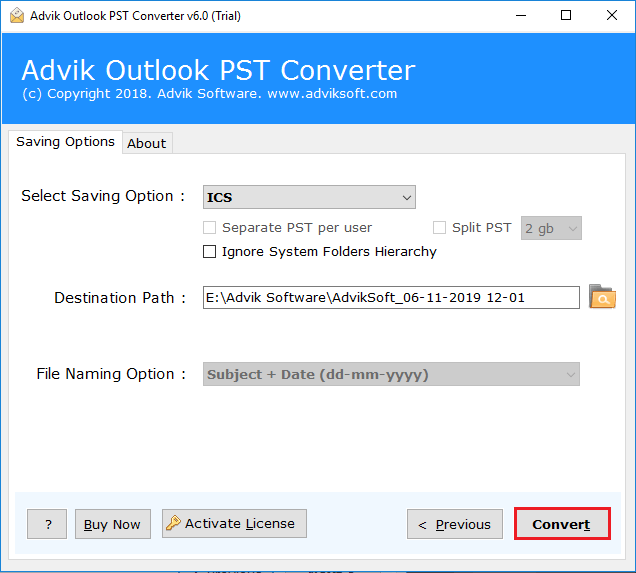
- Provide the destination path and press the Convert button to start.
- Then, log in to your Microsoft 365 account and go to the Add calendar section.
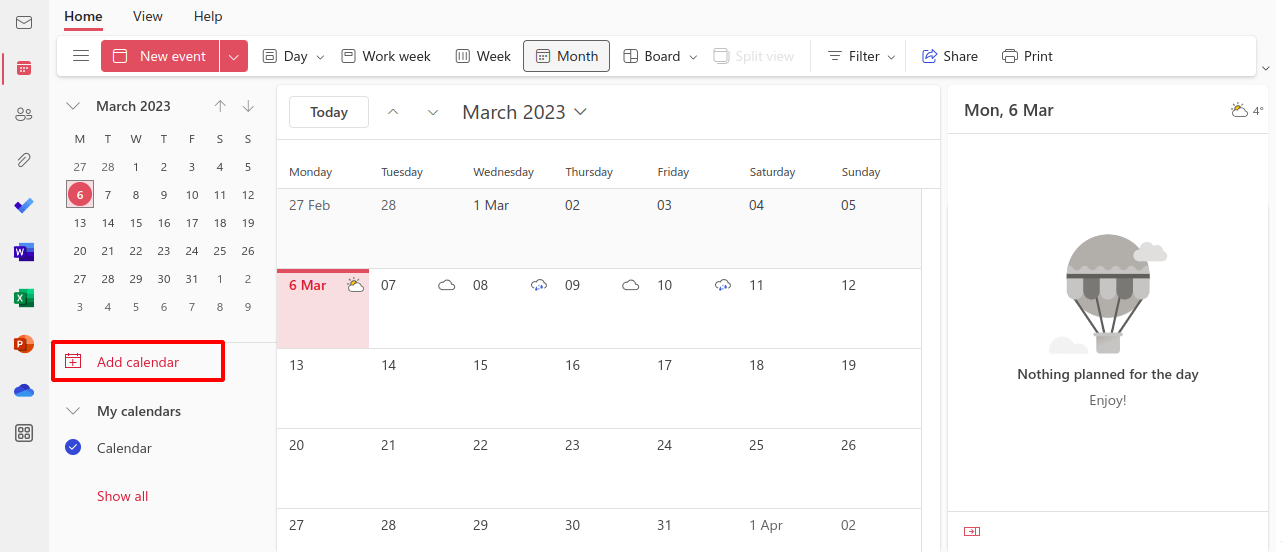
- After that, click on the Add Calendar option and choose Upload from file.
- Tap on the Browse button to add ICS file.

- Lastly, tap on Import to start uploading the ICS calendar to Resource Calendar.
Done!! In this way, you can easily open PST file in Resource Calendar.
Watch How to Import PST To Resource Calendar
Advanced Features of Advik PST Converter Tool
- Offers a short and complete way to import PST to resource calendar.
- It can easily extract calendar from PST file along with emails and contacts.
- Convert PST file into 25+ formats including .mbox, .eml, .HTML, etc.
- Dual options to load necessary PST files and folders to perform batch import process.
- Programmed with an easy-to-use and user-friendly interface so that users can effortlessly operate it.
- Maintain metadata properties and folder structure throughout the process.
Final Words
This write-up has explained the two methods to import PST to Resource calendar. Both the solutions are useful and important in their own place. Anyone can use it according to their needs and requirements. Although, the manual is the right one but comes with various unavoidable drawbacks that can be easily overcome by the Advik PST Converter. It performs the whole process with 100% accuracy and is recommended by the experts also.