How to Transfer Windows Live Mail to Office 365?
Jackson Strong | January 2nd, 2026 | Email Migration
Learn the step-by-step guide to migrate Windows Live Mail to Office 365. The tutorial will help you to export emails from Windows Live Mail to Outlook 365 safely.
“I am looking for Windows Live Mail to Office 365 migrator tool. Because I am tired of manual tricks to import emails into O365. I didn’t found any workable solution. I have mailboxes with thousands of emails. Now I want to migrate Windows Live Mail to Office 365 with complete emails. Kindly provide a workable solution.”
“Hi Advik team, can you share any free solution to transfer emails from Windows Live Mail to Office 365? In case manual solution is available. I have an urgent requirement of importing Windows Live Mail folders into Office 365 Online account. Please help asap.”
If you are also one of the users looking for a solution to import Windows Live Mail to Office 365? Then your search ends here. In this blog, you will get to know the step-by-step method of how to transfer emails from Windows Live Mail to Office 365.
Before proceeding to the solution, first let’s know the reasons behind the Windows Live Mail to O365 migration.
Office 365 is a combination of several online services and apps. It has amazing features for using Excel, PowerPoint, Word, etc., without installing them on your physical computer. O365 stores entire data in the cloud with high security and data backup functions.
Basically, two methods can be used to transfer WLM emails to Office 365 account: manual and automated. The manual solution has three parts to complete this migration. Whereas the automation method has only one way to export emails.
How to Migrate Windows Live Mail to Office 365?
This manual solution is not direct; it has 3 parts. You can follow the below steps to perform this task:
Note: If you want to transfer a large number of WLM files, you have to convert Windows Live Mail emails to PST.
Part 1: Convert WLM Emails to Outlook
- Open Windows Live Mail application and go to the File tab.
- Select Export email and then choose Export Messages.
- Select Exchange Server and click on the Next button.
- A confirmation new windows will appear, click OK.
- Now, choose the EML data folder and click OK button.
Part 2: Export PST from Outlook Application
After migrating Windows Live Mail emails to Outlook, you need to retrieve PST file from MS Outlook. Follow the below steps to achieve this:
- In Outlook, go to the File menu.
- Select Open & Export >> Import/Export.
- Choose Export to a file and click Next.
- Select Outlook Data File (.pst) to export and click Next.
- Select PST file (imported from WLM application).
- Click on Browse and select the location to save PST file.
- If you want, put a password on your PST file and click OK button.
Part 3: Upload PST file into Office 365 via Network Upload
This is the last part to migrate Windows Live Mail to Office 365. Here you need to import PST to Office 365 account.
- Download, Install Azure AzCopy tool and copy the SAS URL.
- Upload your PST files to Office 365 (The AzCopy tool uploads and stored then in the Azure location in the cloud application).
- Create PST Import mapping file (Create a comma-separated value (CSV) file that specifies which user mailboxes the PST files will be imported to).
- Create a PST Import Job (Create the PST Import job in the Import service in Microsoft 365 that will use details from CSV file to move PST files to a corresponding user mailbox).
- Filter data and start PST Import job (Microsoft 365 analyzes the data in the PST files. When the analysis is complete, the data is ready to be imported. Here you can apply filters to data before importing).
How to Export Windows Live Mail to Office 365 Automatically?
Download and install Advik Windows Live Mail Converter on your PC to migrate Windows Live Mail to Office 365. This software will import all emails from Windows Live Mail to Outlook 365. It will transfer emails into the same folder hierarchy. You can apply email filters to move specific emails from WLM to Microsoft 365 email account.
Click below and download the software for free.
Steps to Migrate Windows Live Mail to Outlook 365
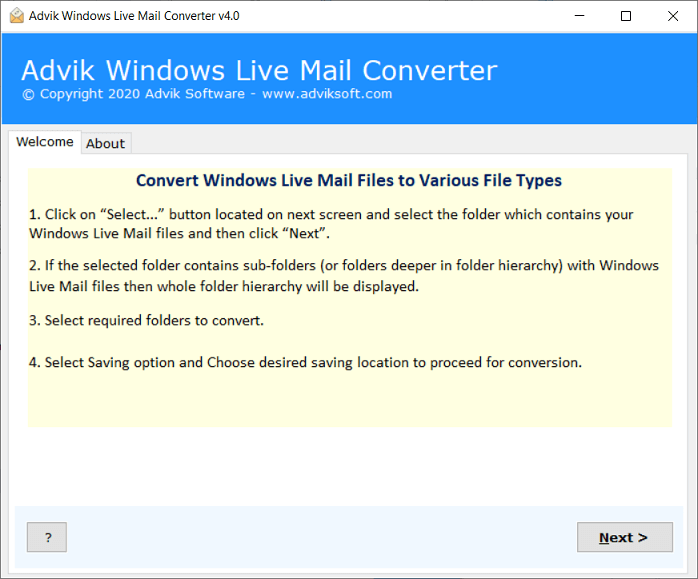
Step 1. Launch the software on your Windows system.
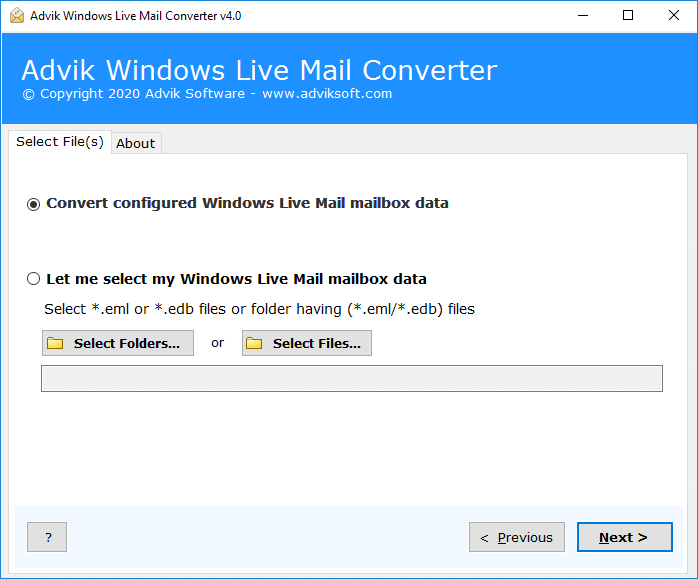
Step 2. Select WLM profile in the software panel and click Next.
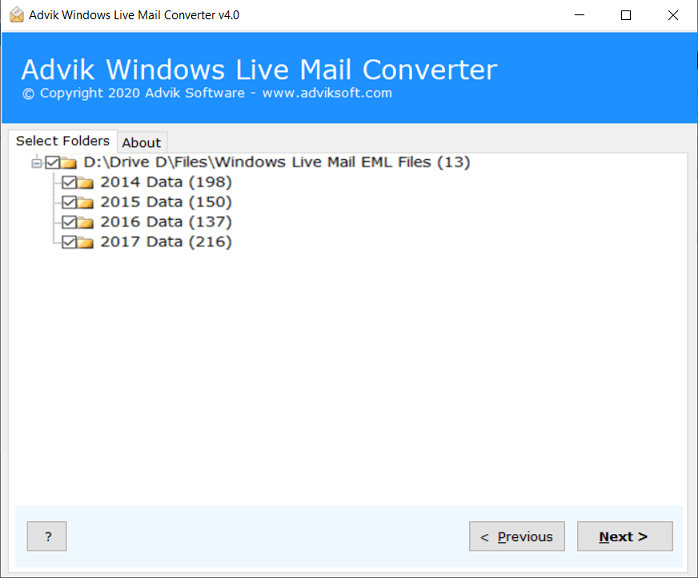
Step 3. Select email folders from Windows Live Mail.
Step 4. Select Office 365 from the list of saving option.
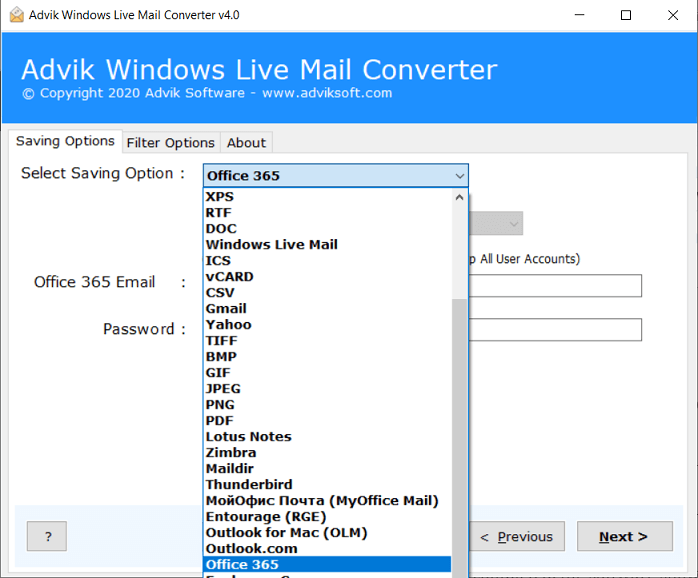
Step 5. Enter your Office 365 account login details.
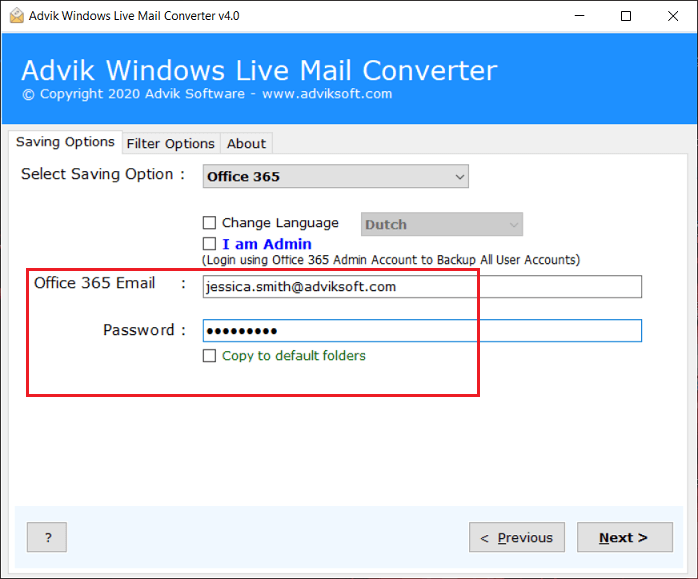
Step 6. Click on Convert button and the process start instantly.
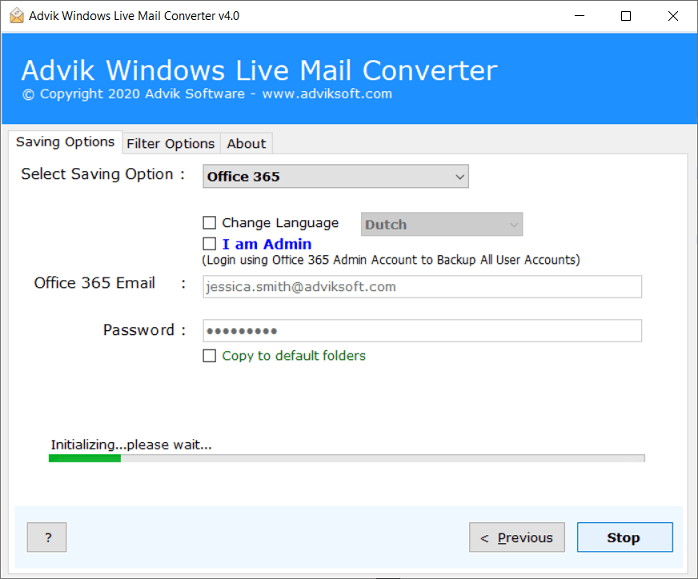
The software will start transferring emails from Windows Live Mail to Office 365. Once the process is completed, the software shows the completion message on the screen. Click OK and login to the Office 365 account and view the imported emails.
Watch How to Import Windows Live Mail to Office 365
Why Choose Advik Software Only?
There are many reasons to choose this utility over manual tricks. Below are some of the key highlights of the migrator that will surely impress you.
- Migrate Windows Live Mail emails to Office 365 with attachments
- No manual configuration is required
- Export Unlimited Email Folders to Office Online.
- Email Folder Selection Option is available
- Export Windows Live Mail Emails into 30+ file formats
- Lifetime Validity with future updates completely free
- Works on all Windows OS machines
- Maintain folder hierarchy
- Preserve Key elements and MetaData
Final Words
In the blog above, we explained how to migrate Windows Live Mail to Office 365 manually or with a direct automated method. The manual method is divided into three parts that are time-consuming and require technical expertise. To make this migration easier, it is recommended that you use the Windows Live Mail to Office 365 Converter. This tool lets you import Windows Live Mail emails into your Office 365 account directly.
FAQs
Q1. I want to export multiple emails from Windows Live Mail to Office 365. Can I do this in a single go?
Ans. Yes, the tool allows to migrate Windows Live Mail emails to Outlook 365 at once.
Q2. Does the software maintain email properties after completing the process?
Ans. Yes, the tool preserves all email attributes even after the migration.
Q3. Can install this application on old Windows XP Computer?
Ans. Yes, the software supports all the latest and old versions of Windows OS.


